GitHub Pagesis too slow, and even with a VPN, it sometimes gets stuck.
Setting Up a Git Server
First, connect to the server using Xshell and switch to the root user. Then navigate back to the root directory.
Install
openssh1sudo apt-get install openssh-server # Ubuntu 2sudo yum install openssh-server # CentosAfter installation, check if the
sshservice is running1ps -e|grep ssh
Create a user named
gitto manage theHexoproject1adduser git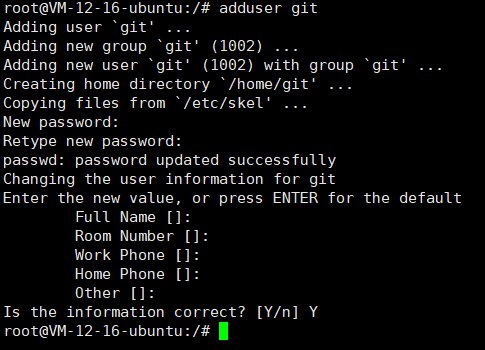
Add write permissions for the
gituser1chmod 740 /etc/sudoers 2vim /etc/sudoersFind the
User privilege specificationsection and add the following line:1git ALL=(ALL:ALL) ALL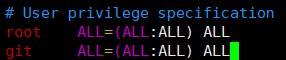
Press
ESCto exit edit mode, then type:wqto save and exitRevoke write permissions
1chmod 400 /etc/sudoersSwitch to the
gituser, create the~/.sshfolder and the~/.ssh/authorized_keysfile, and assign the appropriate permissions1su git 2mkdir ~/.ssh 3vim ~/.ssh/authorized_keysPress
ito enter edit mode, copy the public key from the previously generatedid_rsa.pubfile intoauthorized_keys, then pressESCto exit edit mode and type:wqto save and exit.Assign permissions
1chmod 600 /home/git/.ssh/authorized_keys
2chmod 700 /home/git/.ssh
On your local computer, right-click and select
Git Bash Here, then enter the following command, replacingSERVERwith your cloud server’s IP. If you can log in without a password, it means it’s successful.1ssh -v git@SERVER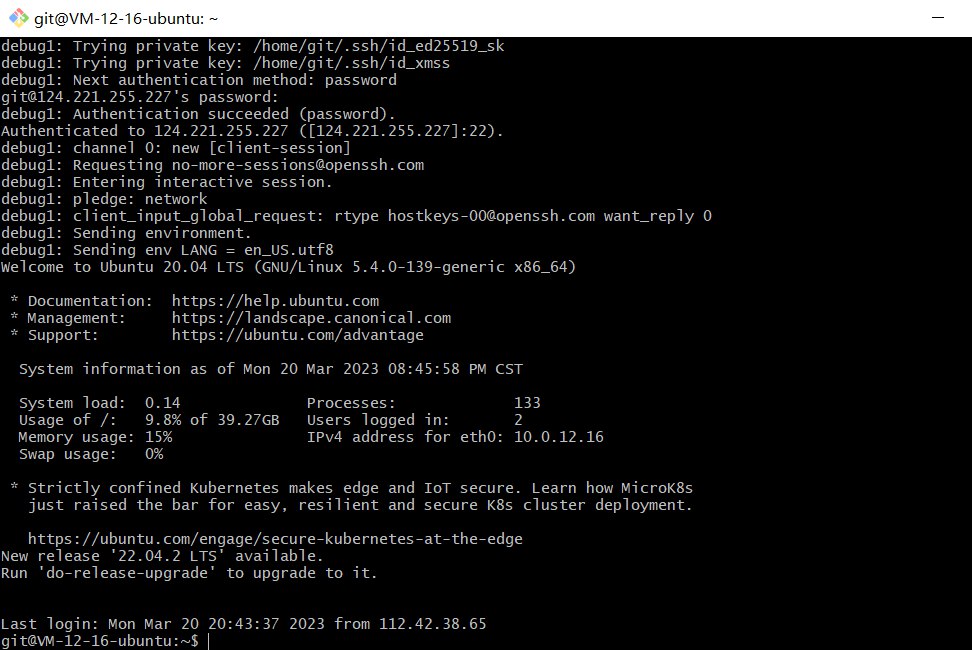
Install
git(skip if already installed)1# Install Git 2sudo yum -y install git 3# Check version 4git versionCreate a
repodirectory in thevardirectory as theGitrepository directory, and assign permissions. First, switch to therootaccount, then enter:1mkdir /var/repo 2chown -R git:git /var/repo 3chmod -R 755 /var/repoCreate a
hexodirectory as the website root directory and assign permissions1mkdir /var/hexo 2chown -R git:git /var/hexo 3chmod -R 755 /var/hexoCreate an empty
gitrepository1cd /var/repo 2git init --bare hexo.gitIn
/var/repo/hexo.git, there is an automatically generated hooks folder. We need to create a new hook filepost-receivefor automatic deployment1vim /var/repo/hexo.git/hooks/post-receiveEnter edit mode and input the following content:
1#!/bin/bash
2git --work-tree=/var/hexo --git-dir=/var/repo/hexo.git checkout -f
After writing, add executable permissions
1chown -R git:git /var/repo/hexo.git/hooks/post-receive
2chmod +x /var/repo/hexo.git/hooks/post-receive
Configuring Nginx to Host the File Directory
Install Nginx
1sudo yum install nginx -y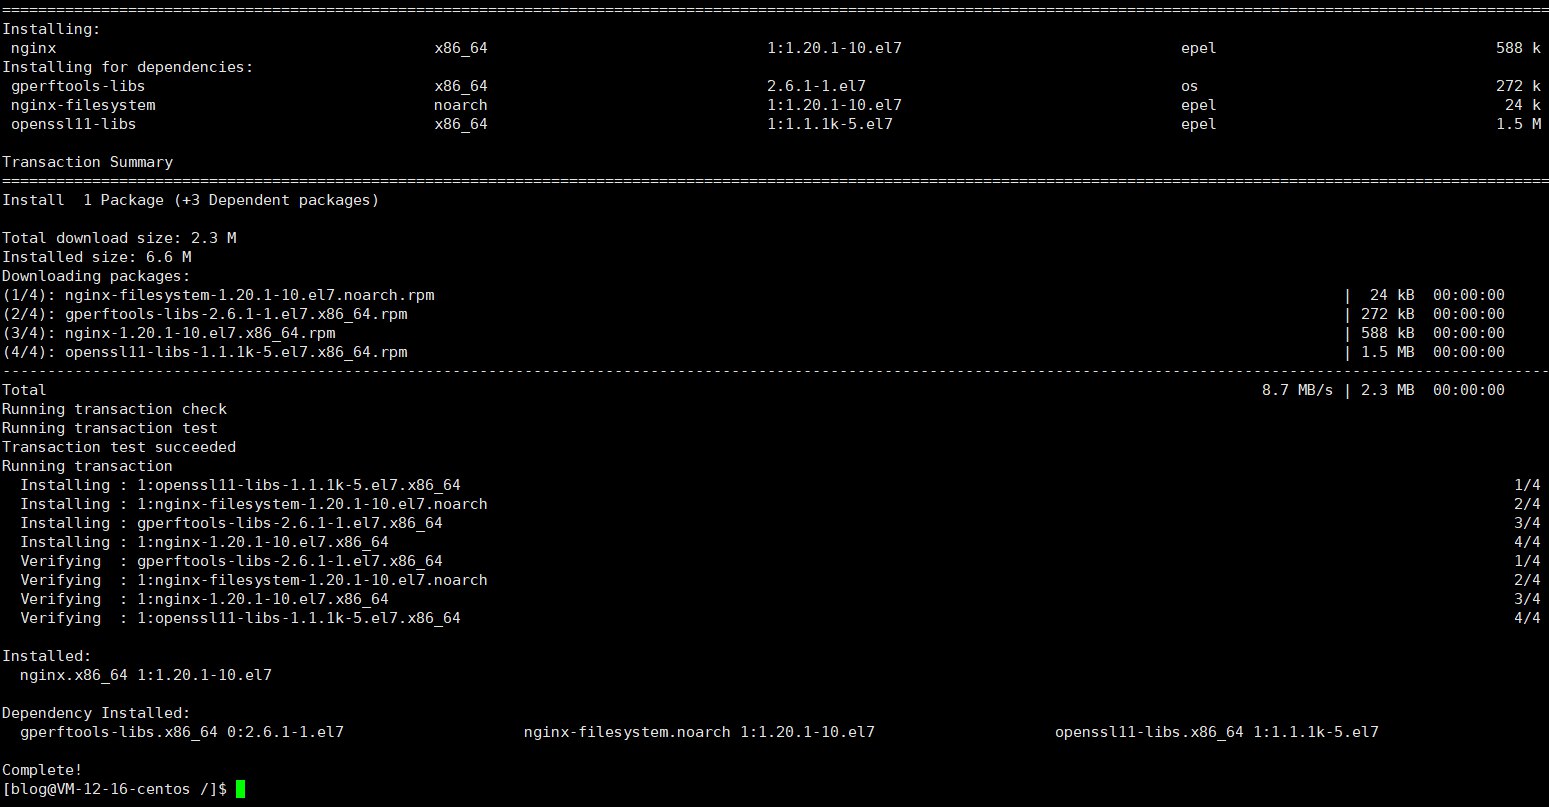
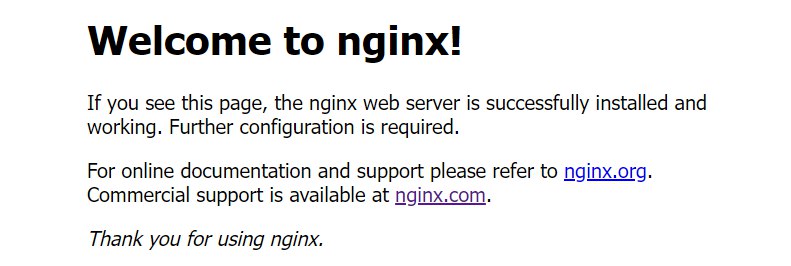
After successful installation, enter the server’s IP address in the browser to access the default Nginx site
Configure
Nginx1nginx -tEdit the
nginx.conffile1vim /etc/nginx/nginx.confPress
ito enter edit mode, paste the content, then pressEscto exit edit mode and type:wqto save and exit.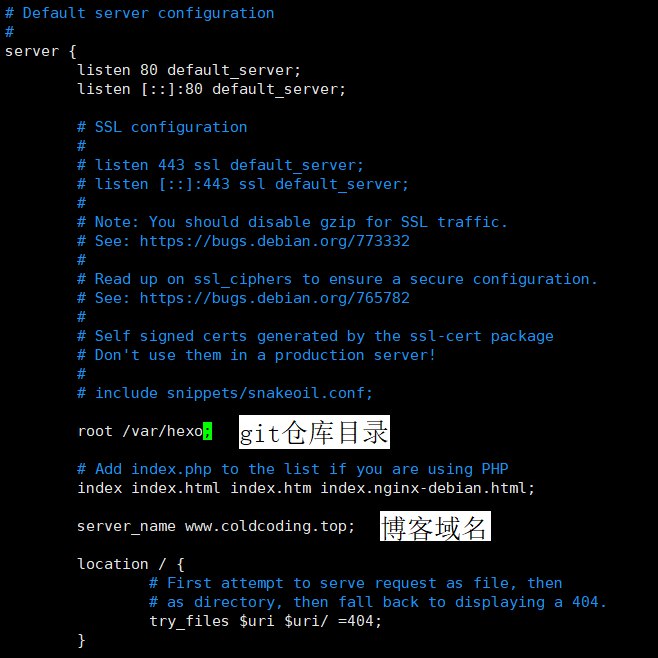
Start
nginx1systemctl start nginx.serviceRestart
nginx1systemctl restart nginx.service
Modifying Hexo Configuration
In the _config.yml configuration file, find deploy and modify it as follows:
1deploy:
2  type: git
3  repo: [email protected]:/var/repo/hexo.git #repo改为repo: [email protected]:/var/repo/hexo.git
4  branch: master
Triple deployment
1hexo cl & hexo g & hexo d