General Settings
Theme Configuration
In the theme configuration file
_config.butterfly.yml, locatecomments:1comments: 2 # Up to two comments system, the first will be shown as default 3 # Choose: Disqus/Disqusjs/Livere/Gitalk/Valine/Waline/Utterances/Facebook Comments/Twikoo/Giscus/Remark42/Artalk 4 use: Twikoo,Waline 5 text: true # Display the comment name next to the button 6 # lazyload: The comment system will be load when comment element enters the browser's viewport. 7 # If you set it to true, the comment count will be invalid 8 lazyload: true 9 count: true # Display comment count in post's top_img 10 card_post_count: false # Display comment count in Home PageIn the theme configuration file
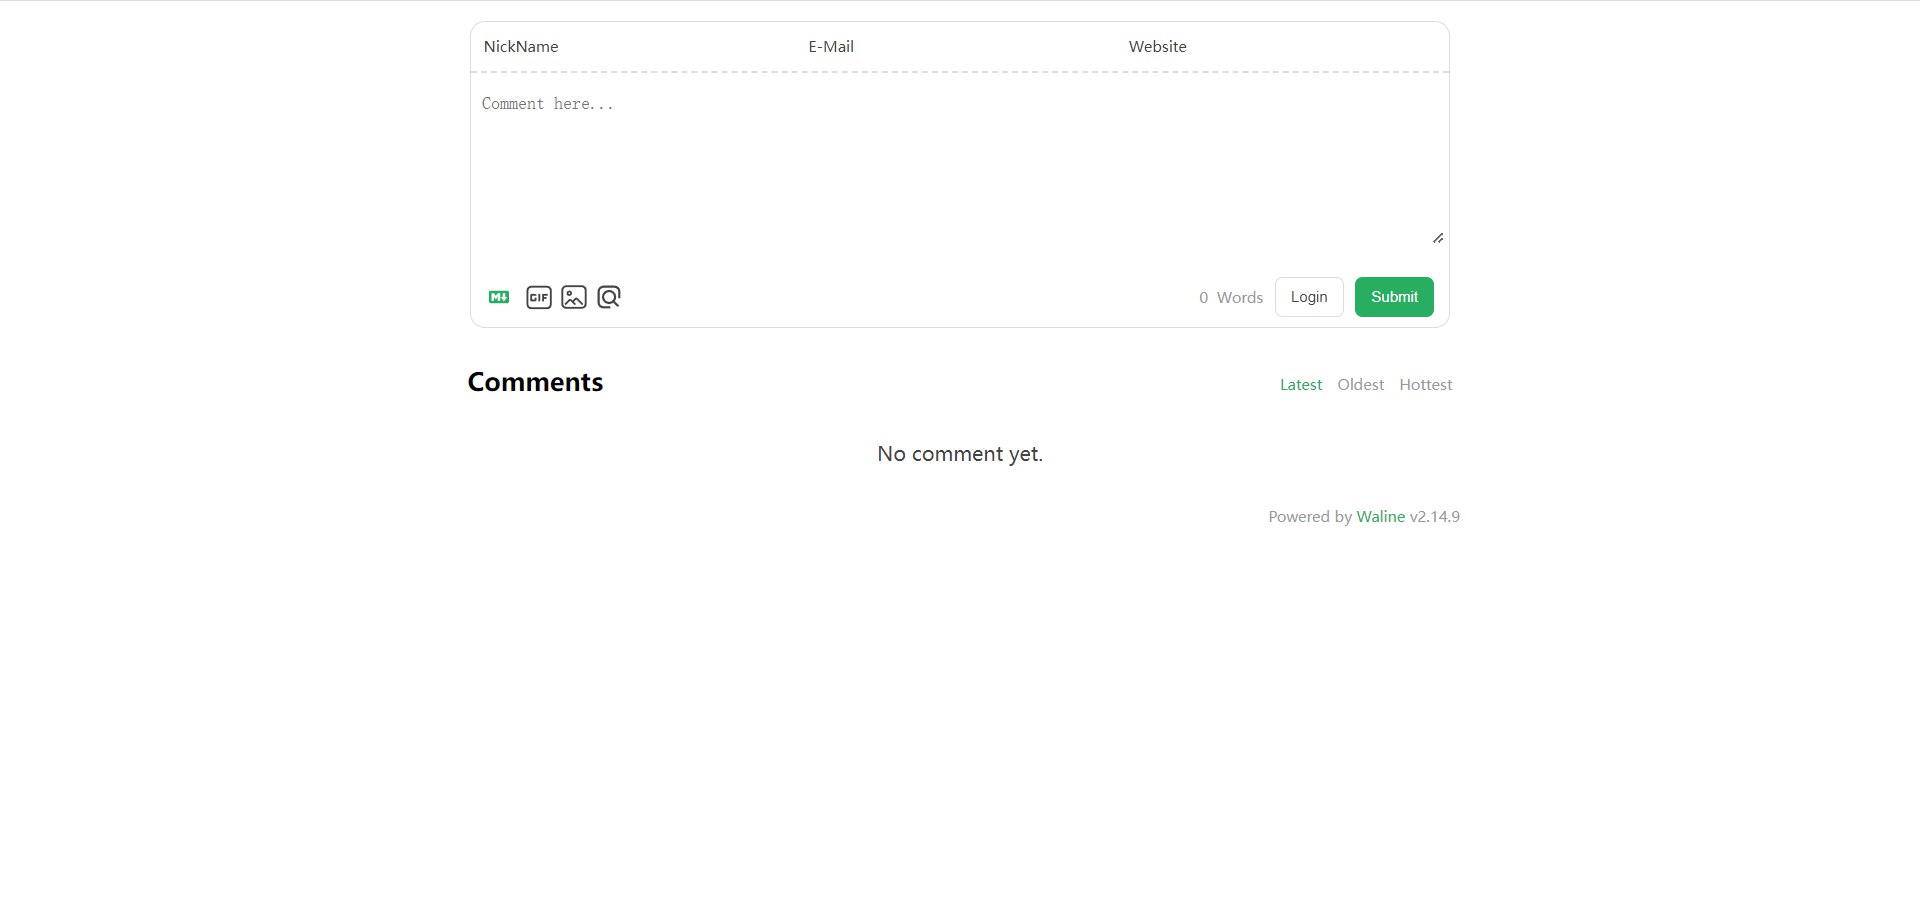
_config.butterfly.yml, locatewaline:1waline: 2 serverURL: waline.coldcoding.top # Enter the backend URL obtained earlier (required, fill in your own domain accordingly) 3 option: 4 locale: { 5 nick: 'Nickname', 6 mail: 'Email', 7 link: 'Your Website', 8 placeholder: 'Welcome to leave a comment~ (Fill in your email to receive reply notifications)', 9 requiredMeta: [], 10 mailError: 'Please enter a valid email address', 11 sofa: 'Be the first to comment!', 12 level0: 'Private', 13 level1: 'Private First Class', 14 level2: 'Corporal', 15 level3: 'Sergeant', 16 level4: 'Staff Sergeant', 17 level5: 'Sergeant First Class', 18 level6: 'Master Sergeant', 19 level7: 'First Sergeant', 20 level8: 'Sergeant Major', 21 } 22 emoji: [ 23 'https://cdn.jsdelivr.net/gh/walinejs/[email protected]/tw-emoji', 24 'https://cdn.jsdelivr.net/gh/norevi/[email protected]/blobs', 25 'https://cdn.jsdelivr.net/gh/walinejs/[email protected]/bilibili', 26 ]In the theme configuration file
_config.butterfly.yml, locatetwikoo:1twikoo: 2 envId: twikoo.coldcoding.top 3 region: 4 visitor: false 5 option: 6 locale: { 7 nick: 'Nickname', 8 mail: 'Email', 9 link: 'Your Website (optional)', 10 placeholder: 'Welcome to leave a comment~ (Fill in your email to receive reply notifications)', 11 requiredMeta: [], 12 mailError: 'Please enter a valid email address', 13 sofa: 'Be the first to comment!', 14 level0: 'Private', 15 level1: 'Private First Class', 16 level2: 'Corporal', 17 level3: 'Sergeant', 18 level4: 'Staff Sergeant', 19 level5: 'Sergeant First Class', 20 level6: 'Master Sergeant', 21 level7: 'First Sergeant', 22 level8: 'Sergeant Major', 23 } 24 emoji: [ 25 'https://cdn.jsdelivr.net/gh/walinejs/[email protected]/tw-emoji', 26 'https://cdn.jsdelivr.net/gh/norevi/[email protected]/blobs', 27 'https://cdn.jsdelivr.net/gh/walinejs/[email protected]/bilibili', 28 ]
Installing Waline
1$ npm install @waline/hexo-next --save
Waline
LeanCloud
Register on LeanCloud International
Create an Application
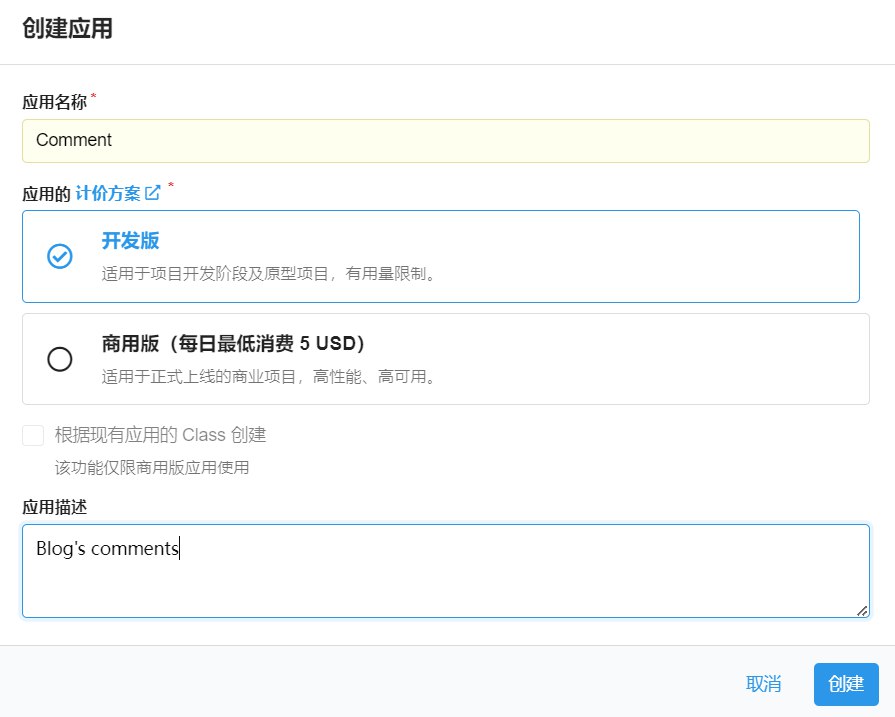
Go to Settings - Application Credentials and note down your AppID, AppKey, and MasterKey.
Vercel
Click vercel to deploy the Server side.
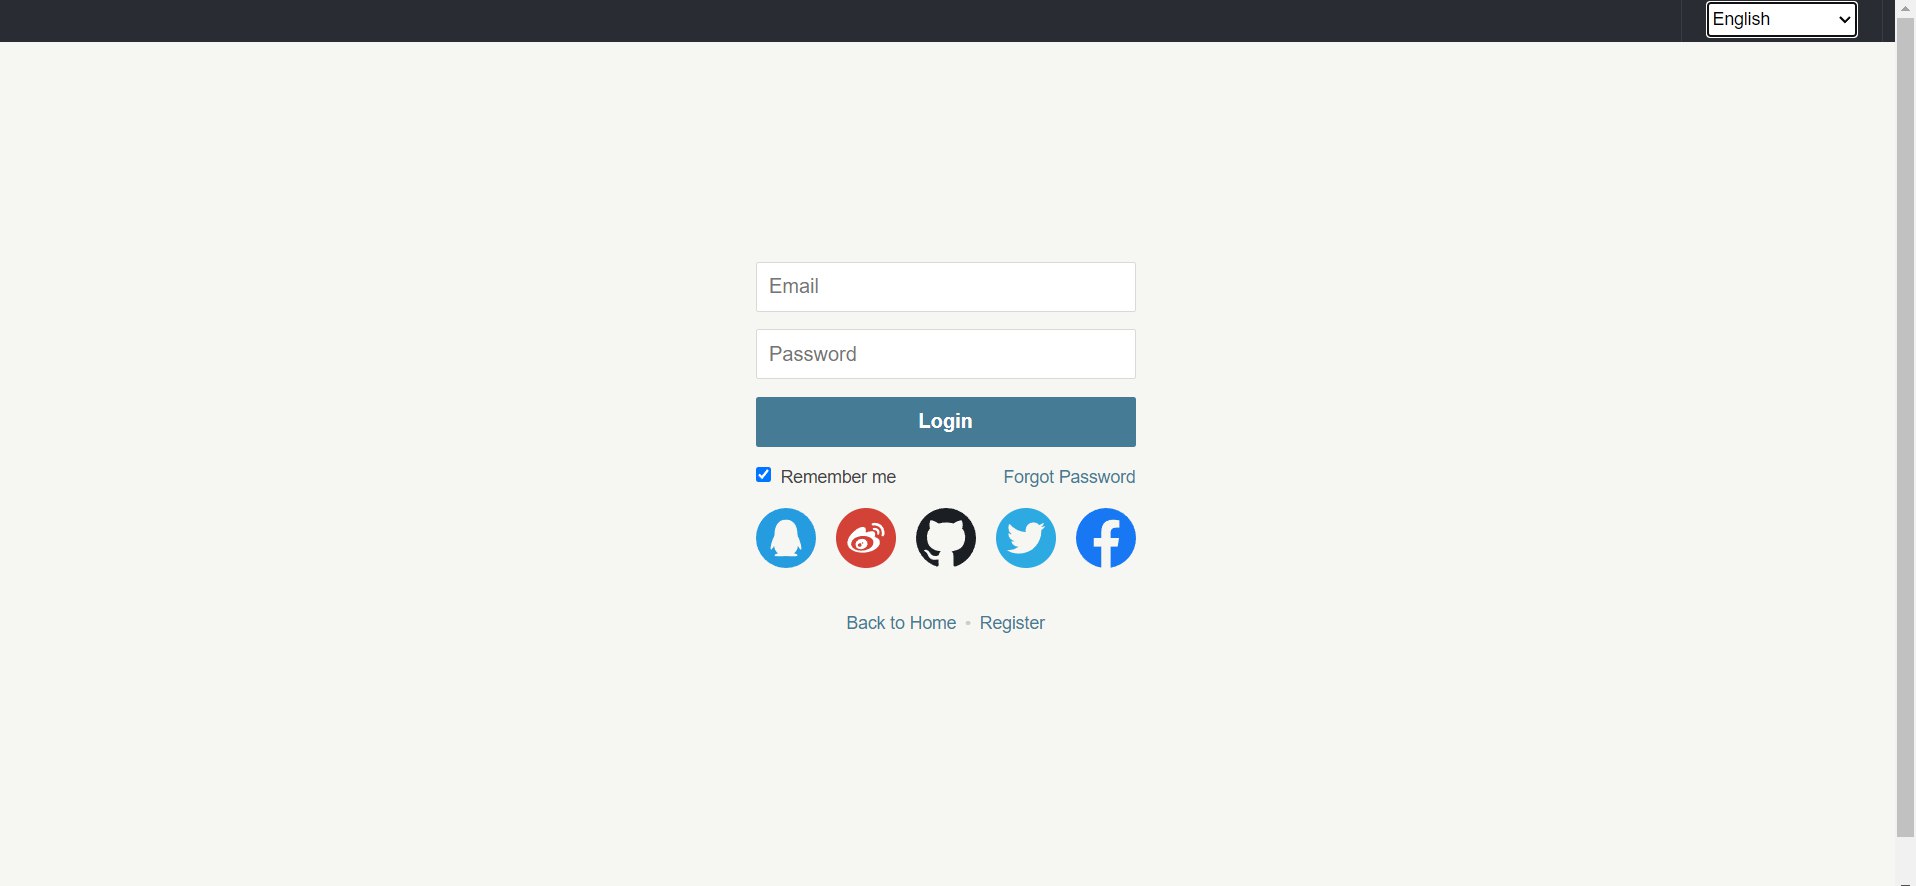
Log in with
GitHub.A quick note: you need to log in with a phone number. Since
GitHubin China is usually bound to an email, and even thoughGitHubhas two-factor authentication, there is no option for China. Previously, someone posted about this issue and the response was that the success rate of receiving messages in China is relatively low, so it was removed. On the binding page, pressF12to enter developer mode and directly change the US to China+86.Create a new project
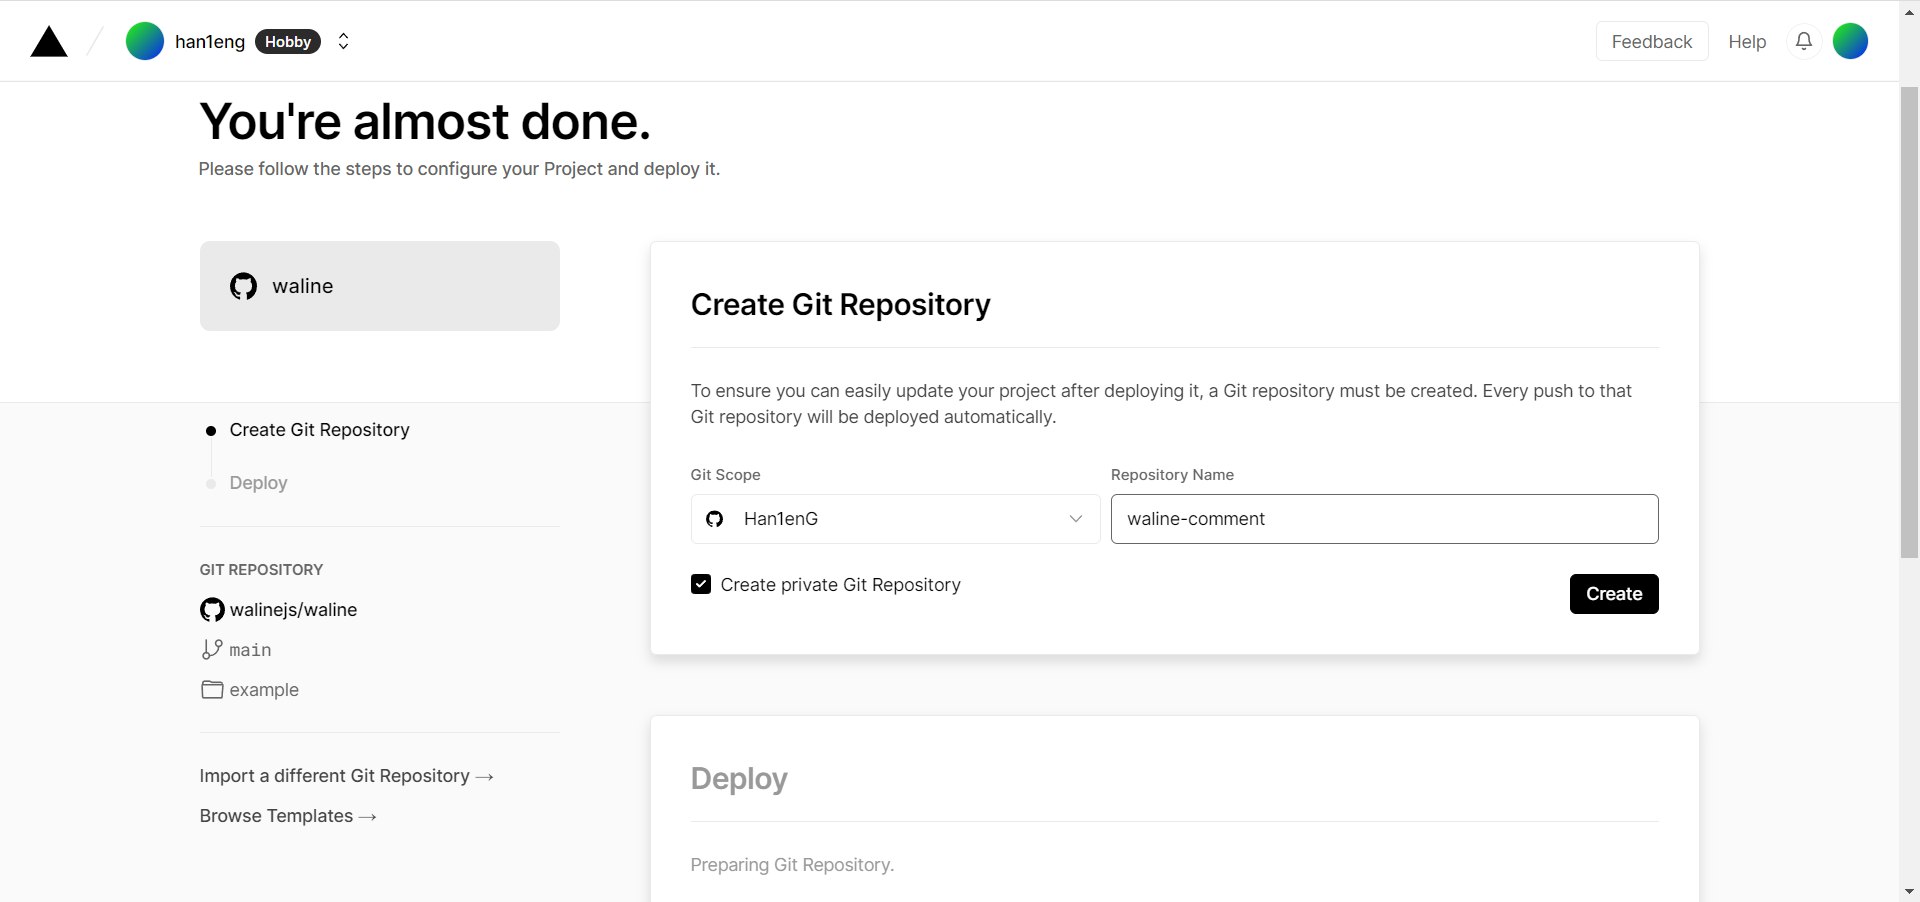
Click
Settings/Environment Variableson the dashboard, go to the environment variables configuration page, and configure three environment variablesLEAN_ID,LEAN_KEY, andLEAN_MASTER_KEY. Their values correspond to theAPP ID,APP KEY, andMaster Keyobtained fromLeanCloudin the previous step.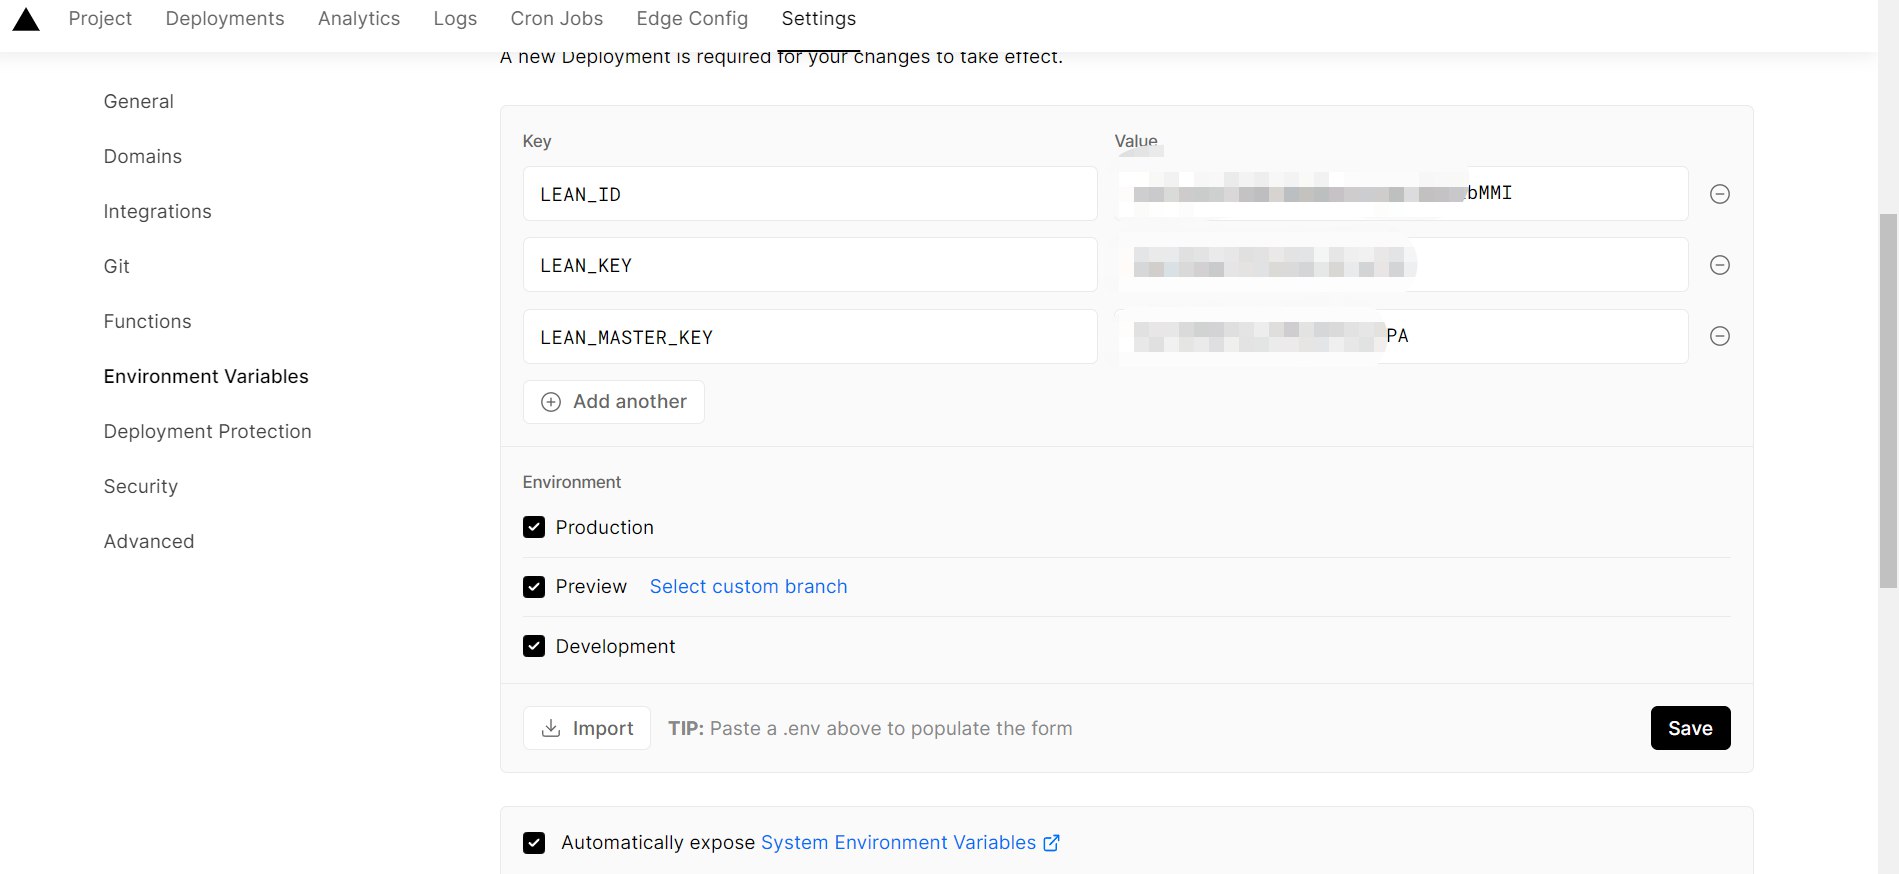
After configuring the environment variables, click
Deploymentsat the top, then click theRedeploybutton on the right side of the latest deployment to redeploy. This step ensures that the environment variables just set take effect.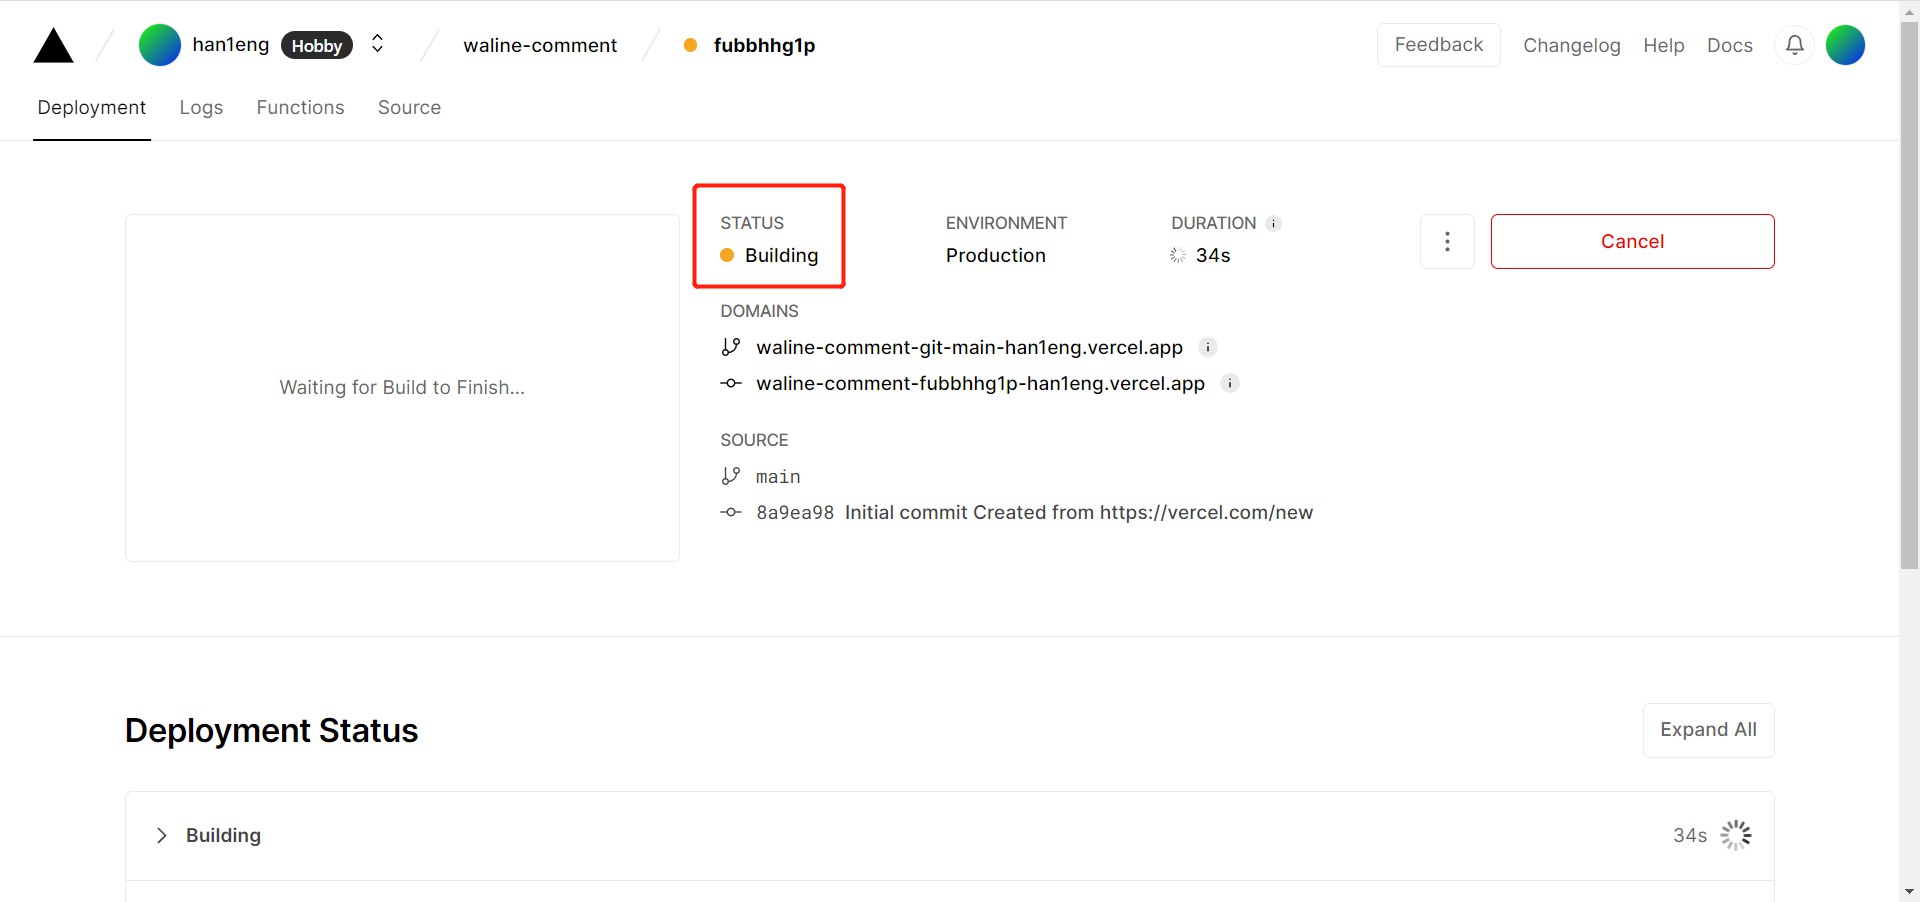
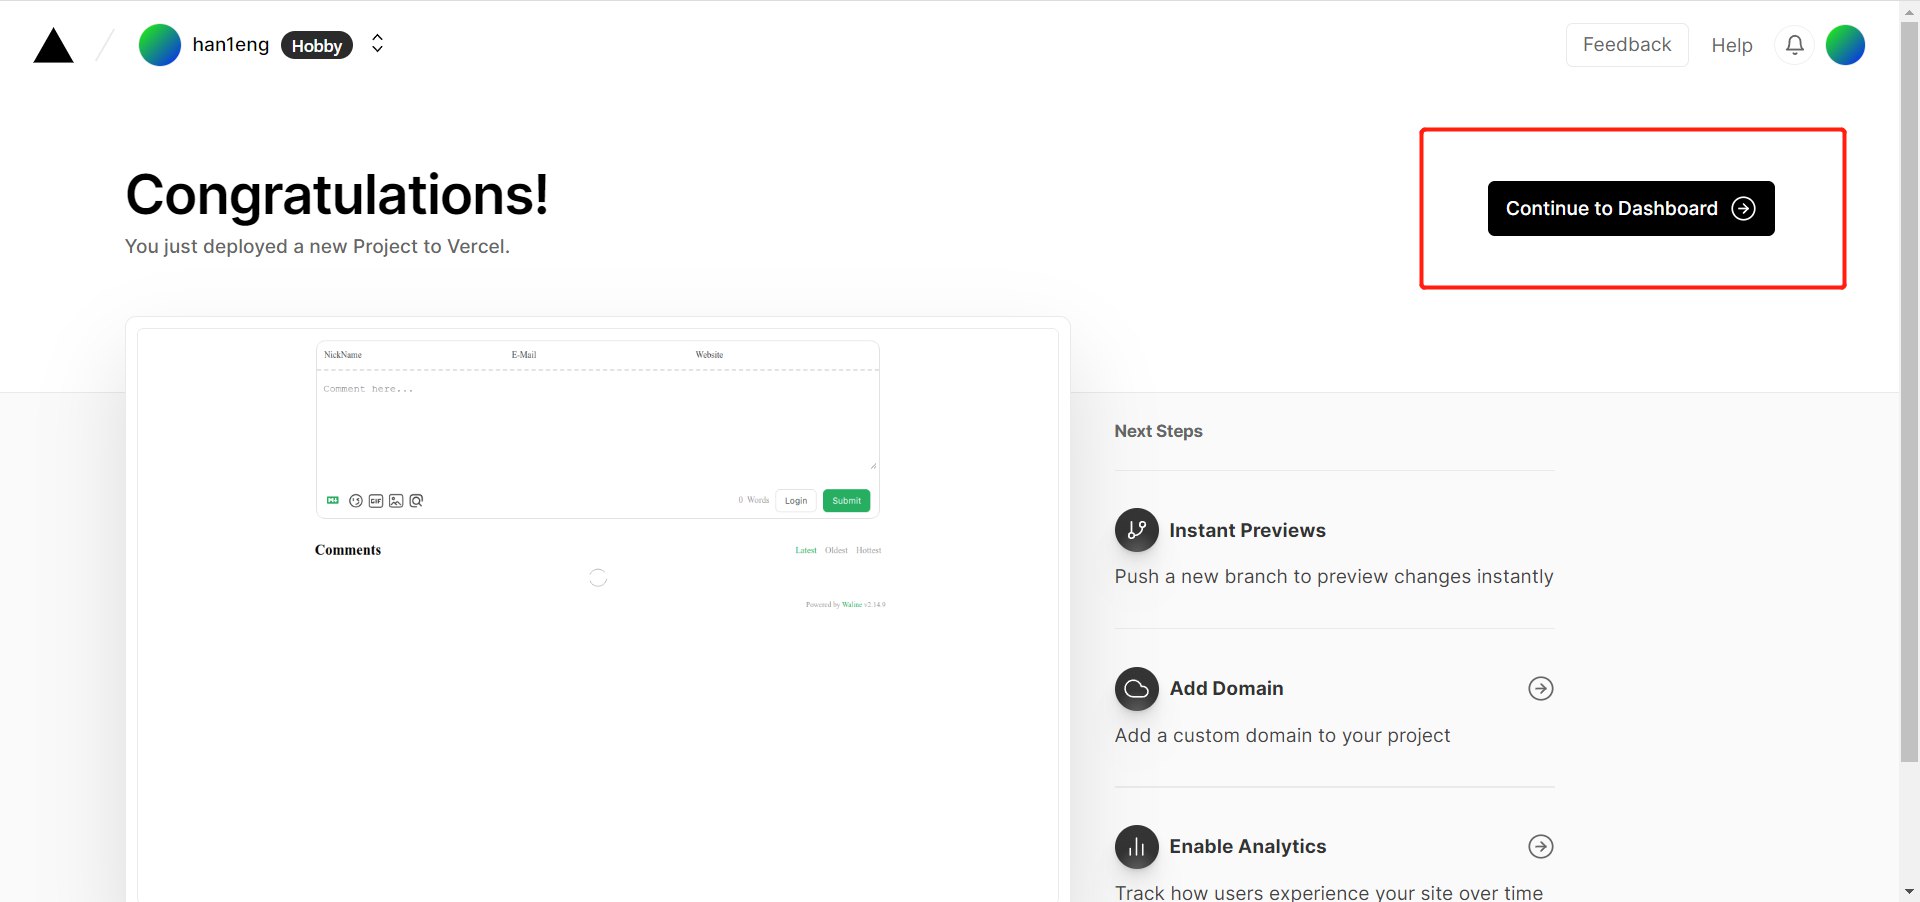
After a short wait, the
STATUSwill change toReady. ClickVisitto jump to the deployed website address, which is your server address.Click
Settings-Domainsat the top to enter the domain configuration page, enter the domain you want to bind, and clickAdd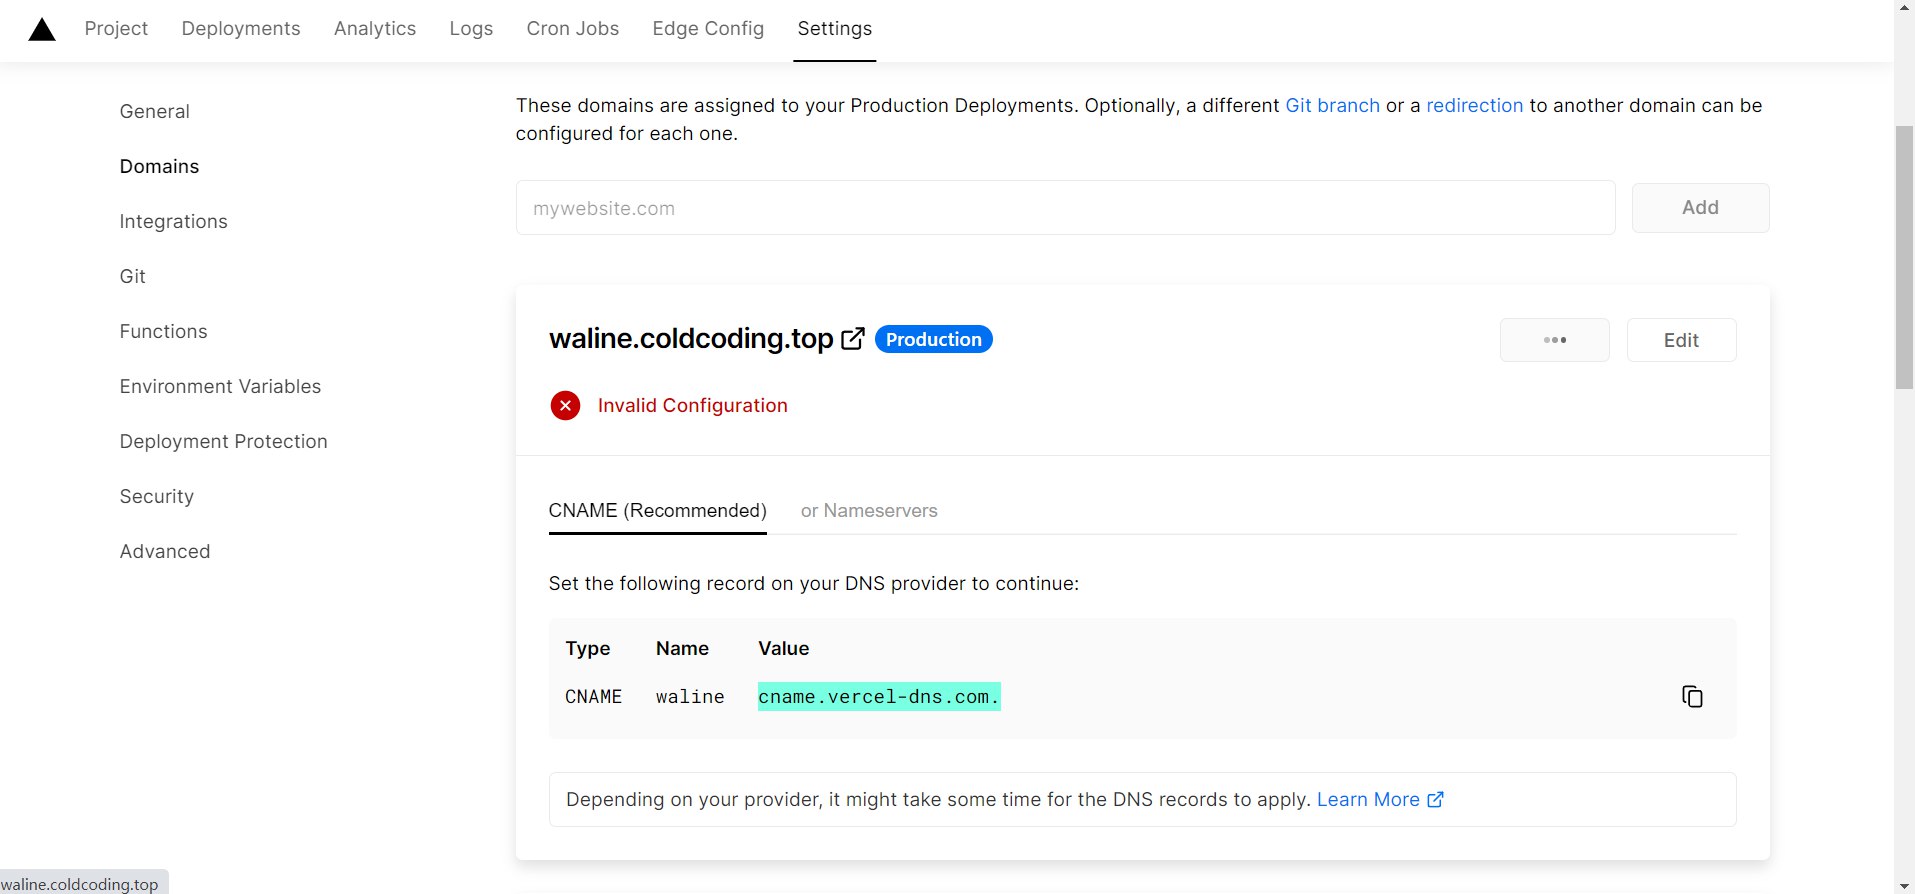 The above information indicates that you need to configure the corresponding
 CNAMEresolution in your domain registrar’s management backend before it can take effect. Here, Tencent Cloud is used as an example, configured according tovercel’s recommendations. You can also refer to this tutorial.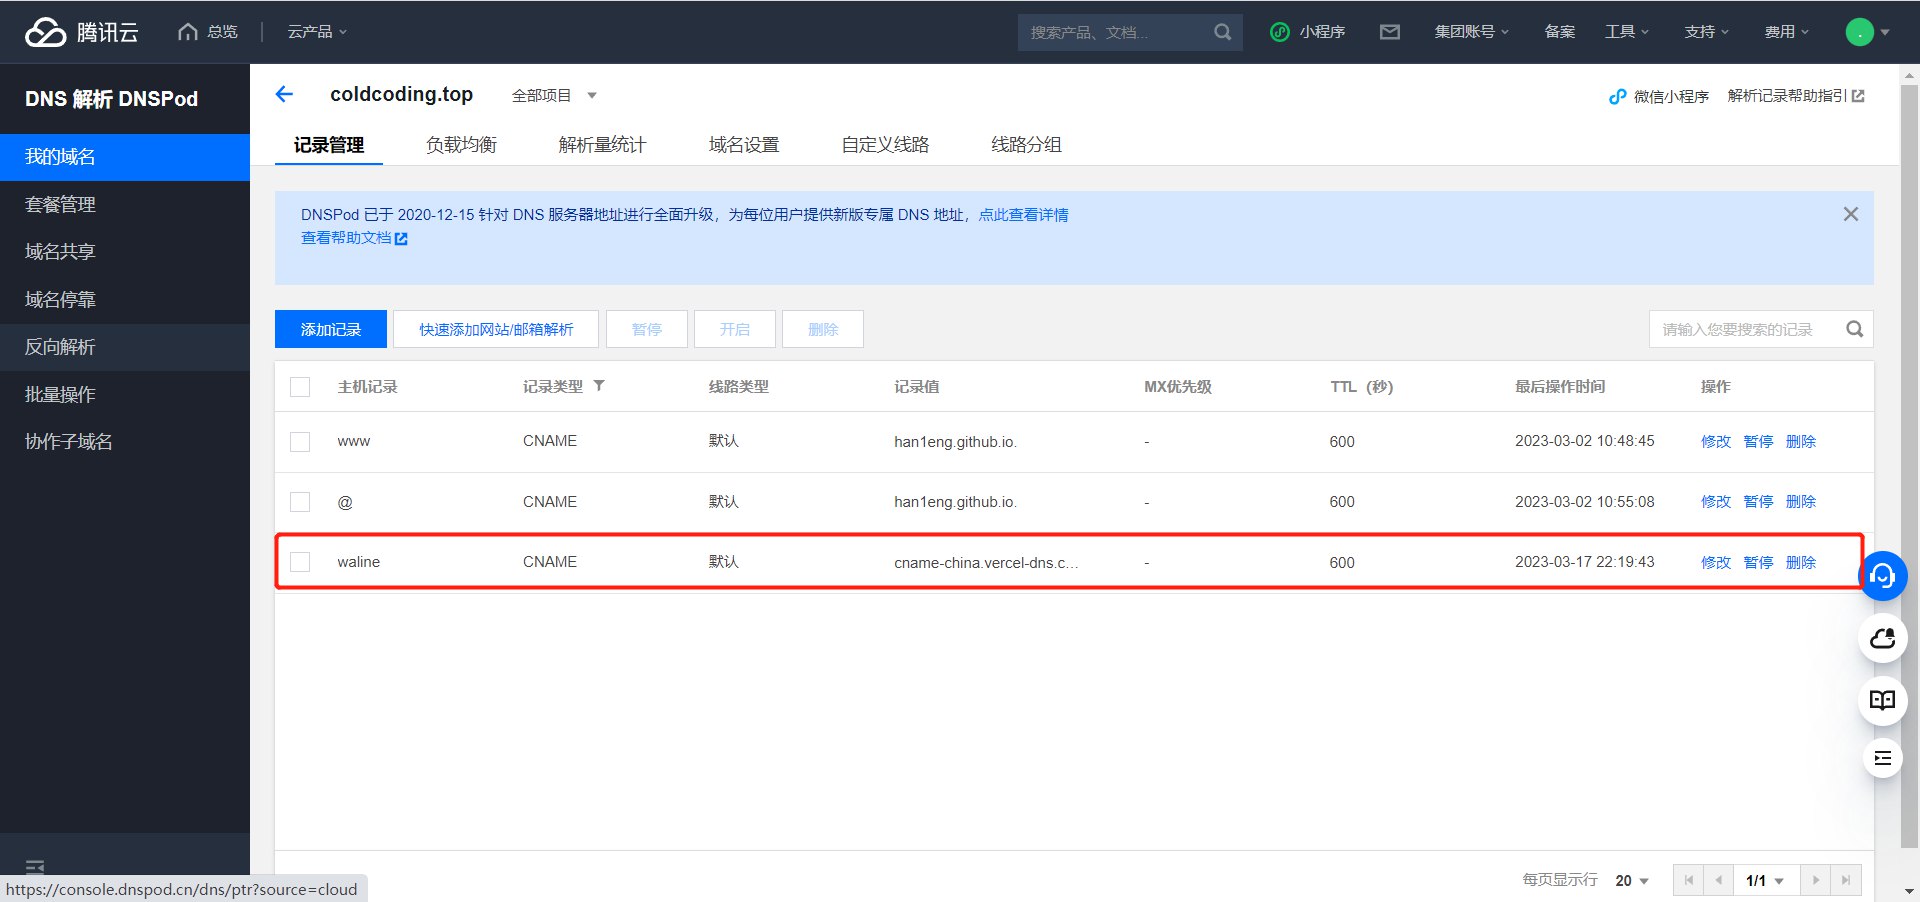
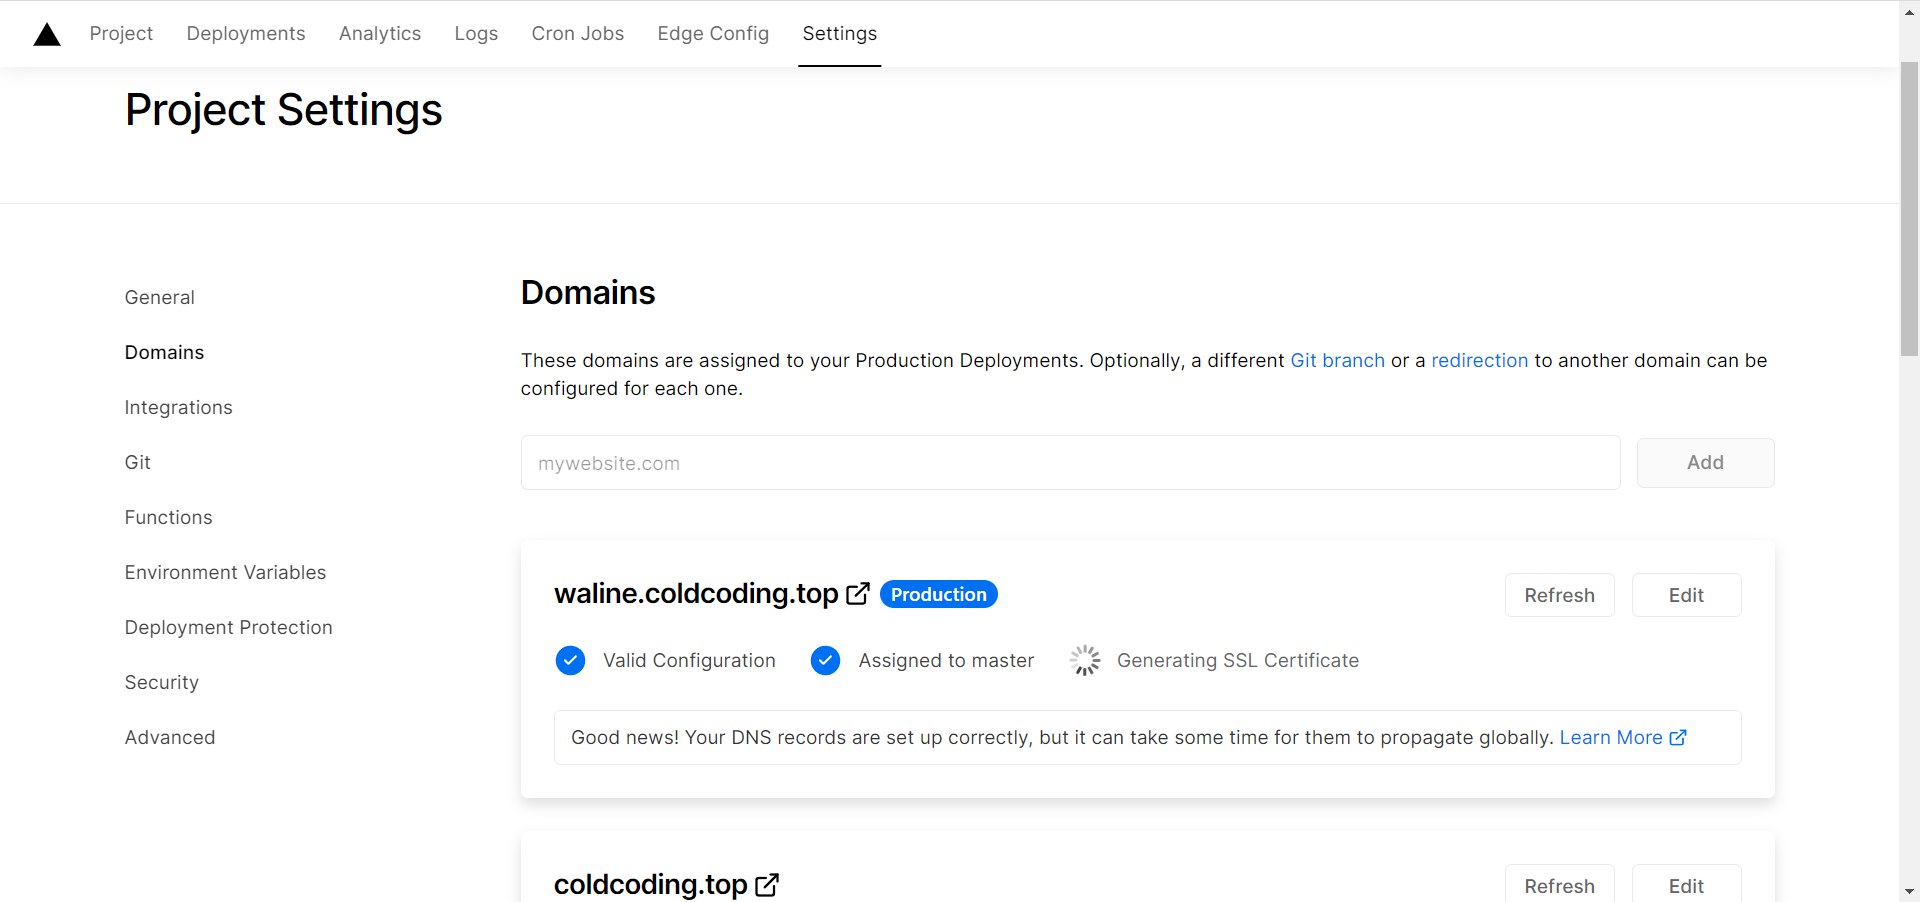
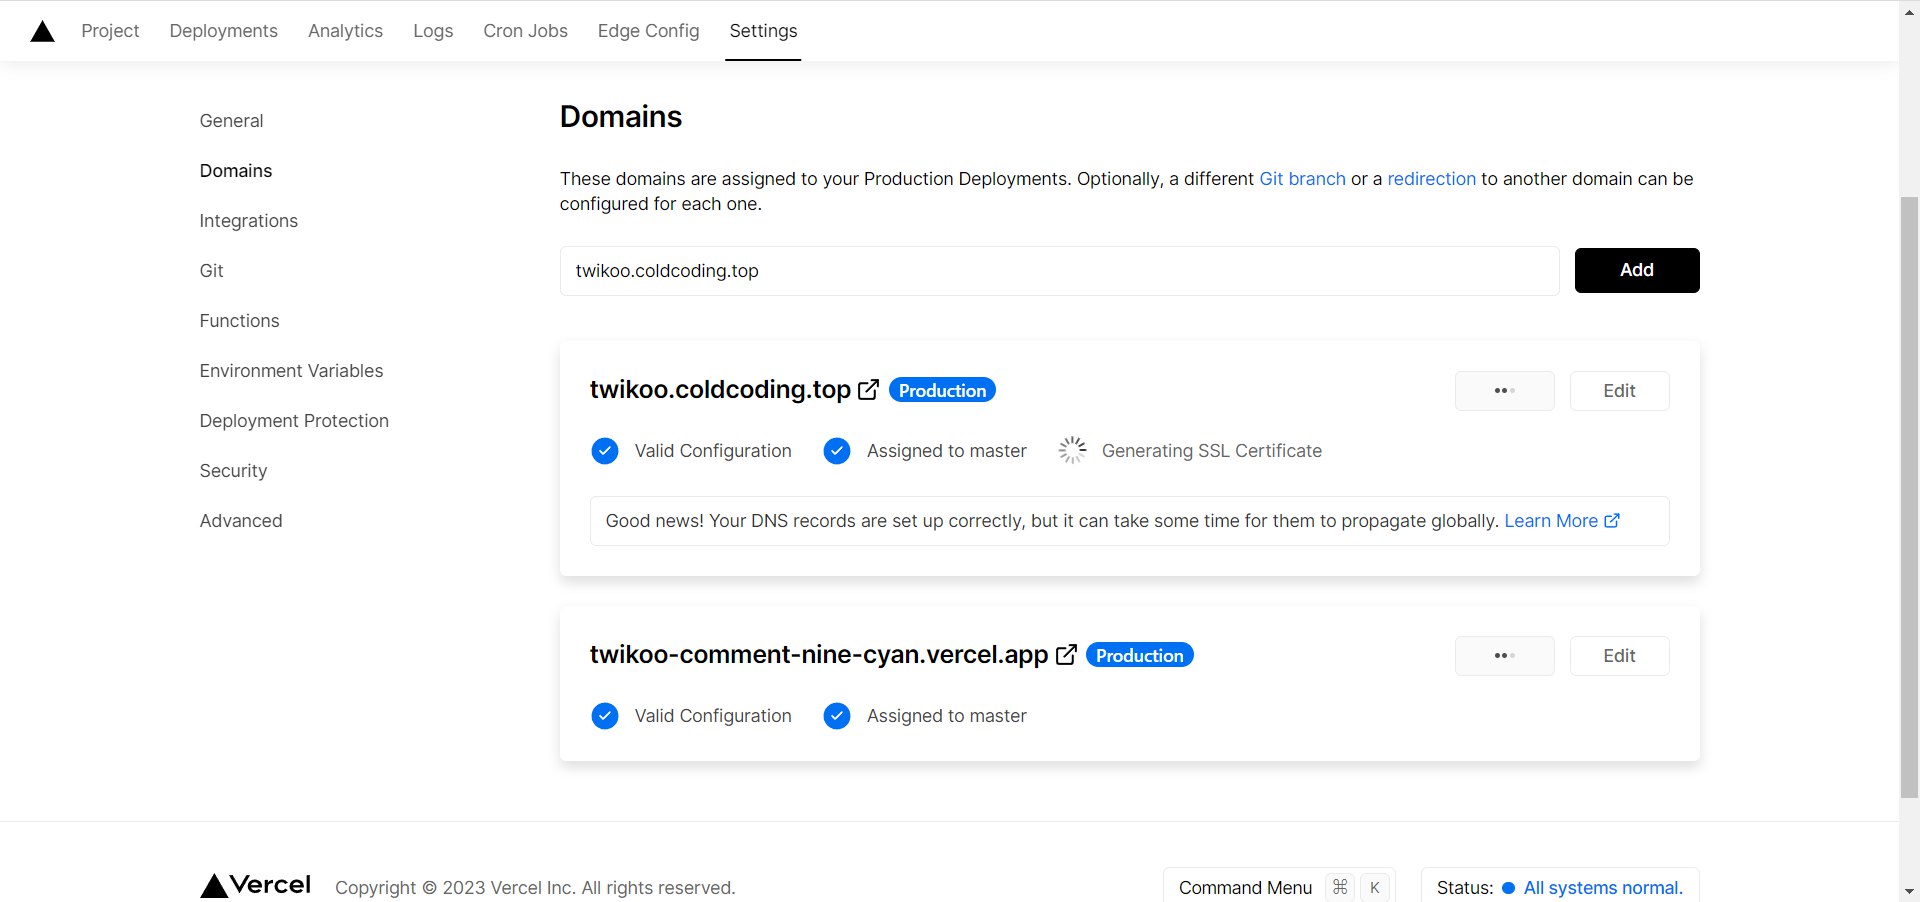
Wait for it to take effect, and you can access it via your own domain 🎉
- Comment system: waline.yourdomain.com
- Comment management: waline.yourdomain.com/ui
Deployment
One-click deployment with hexo cl && hexo g && hexo d
Twikoo
MongoDB
- The official documentation provides multiple deployment methods. Here, we chose the MongoDB database to store data. First, register an account and create a free database. The region is recommended to be
AWS / N. Virginia (us-east-1). On theClusterspage, clickCONNECTand set up to allow connections from allIPaddresses.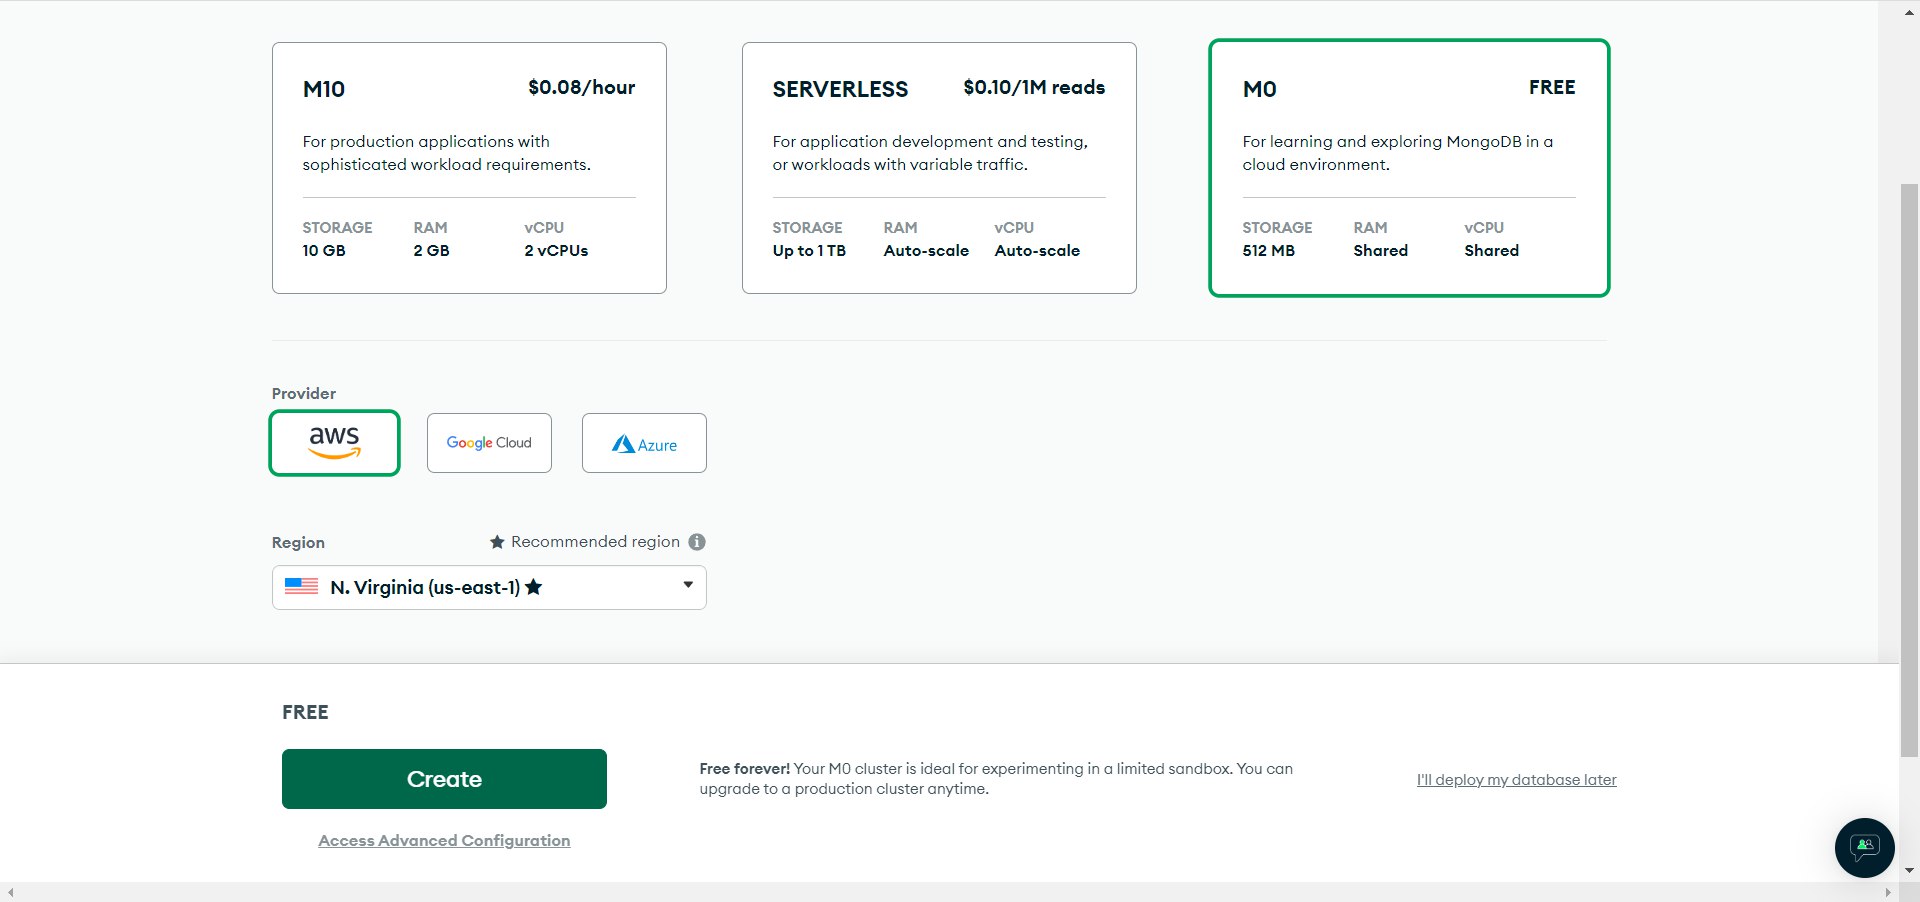
- Connect to the database and select
Connect your application
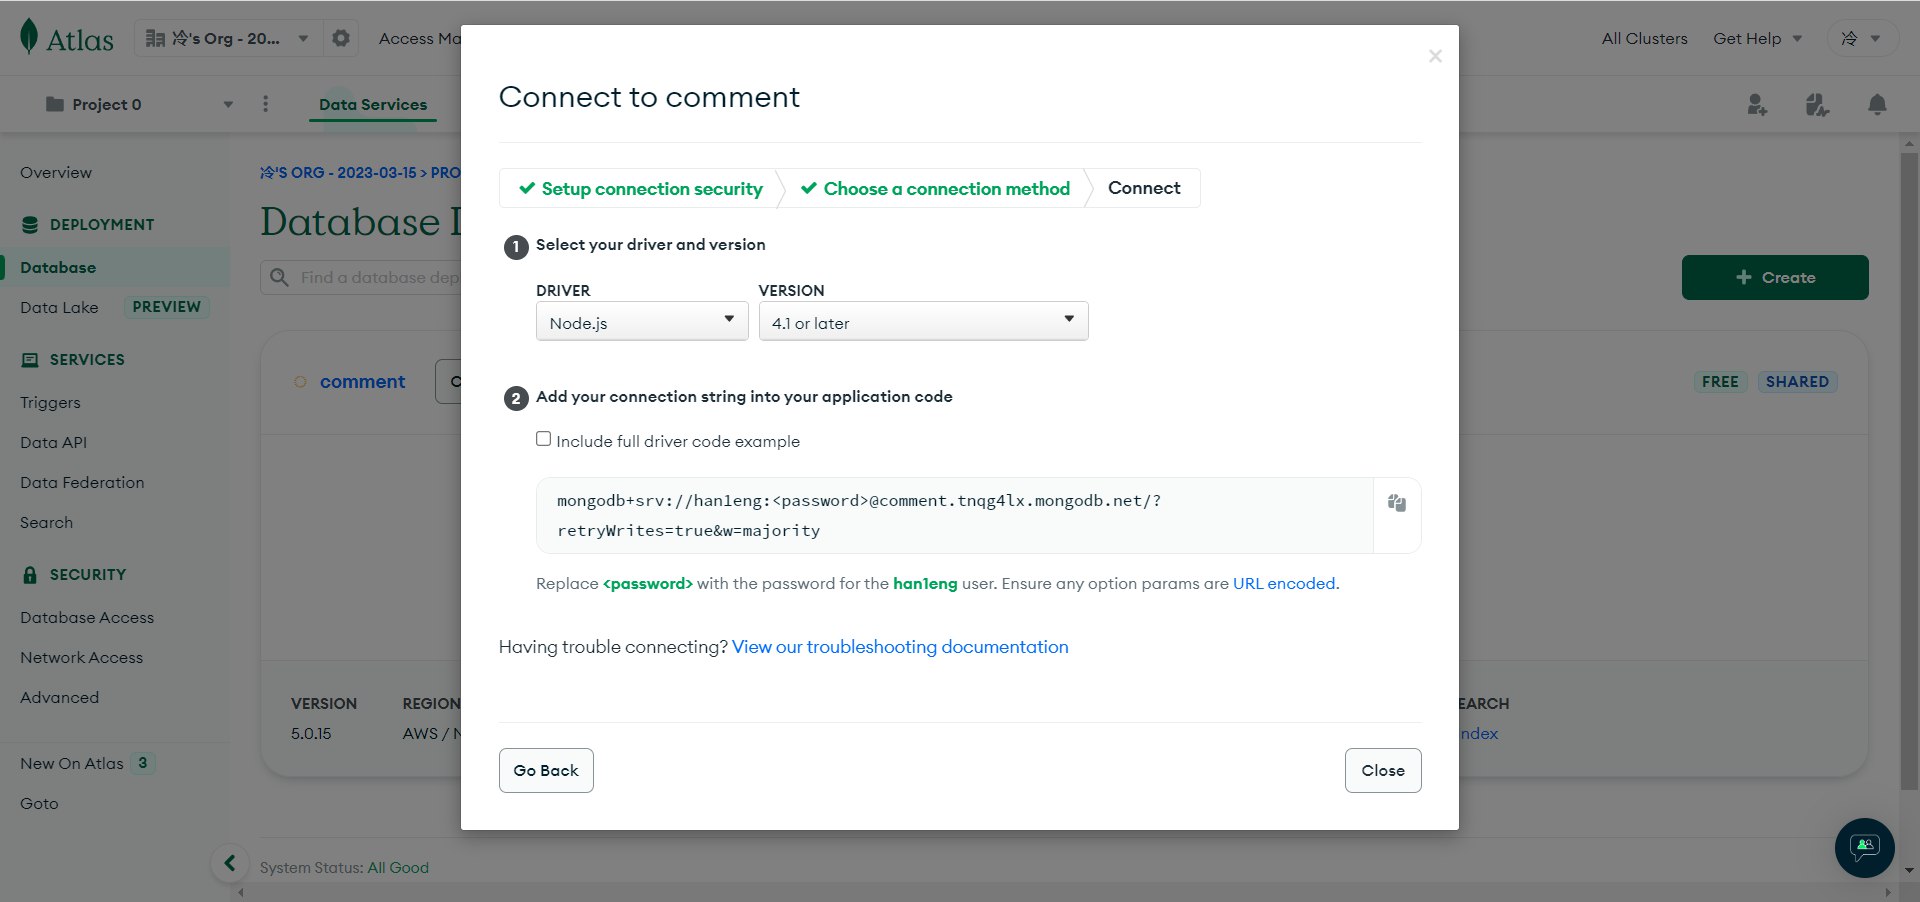
- Record the
connection string
Vercel
Click vercel to deploy the
serverside and create a new repository.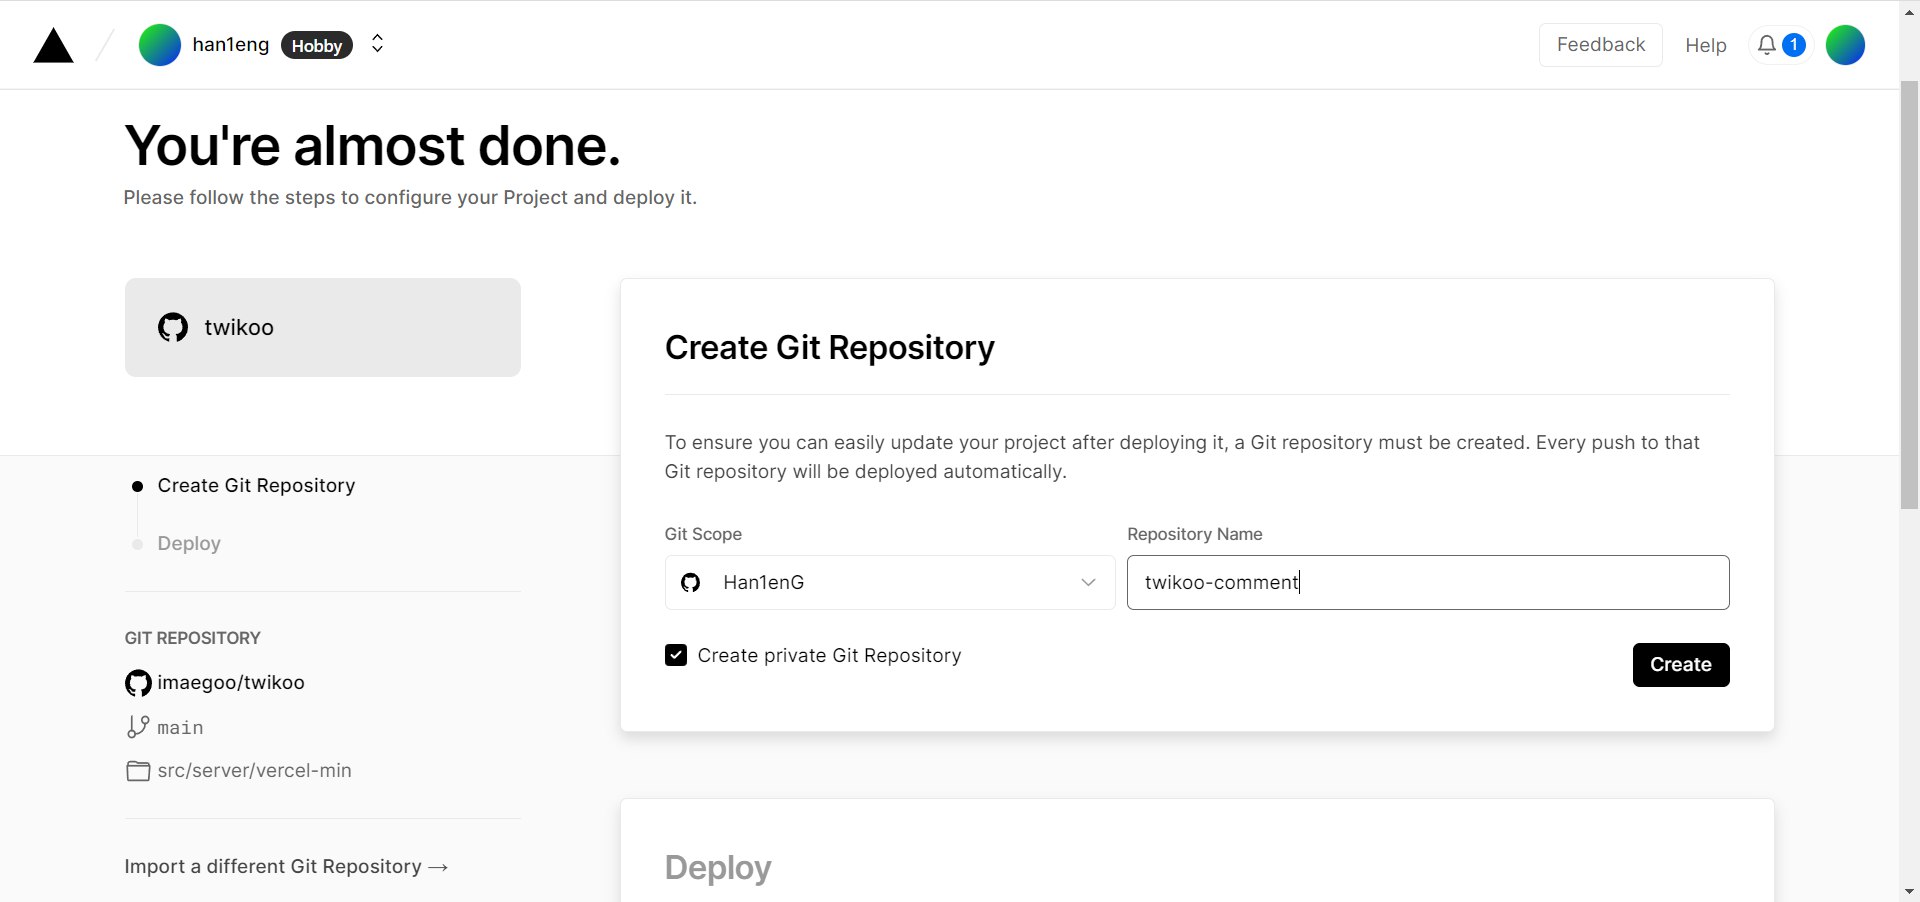
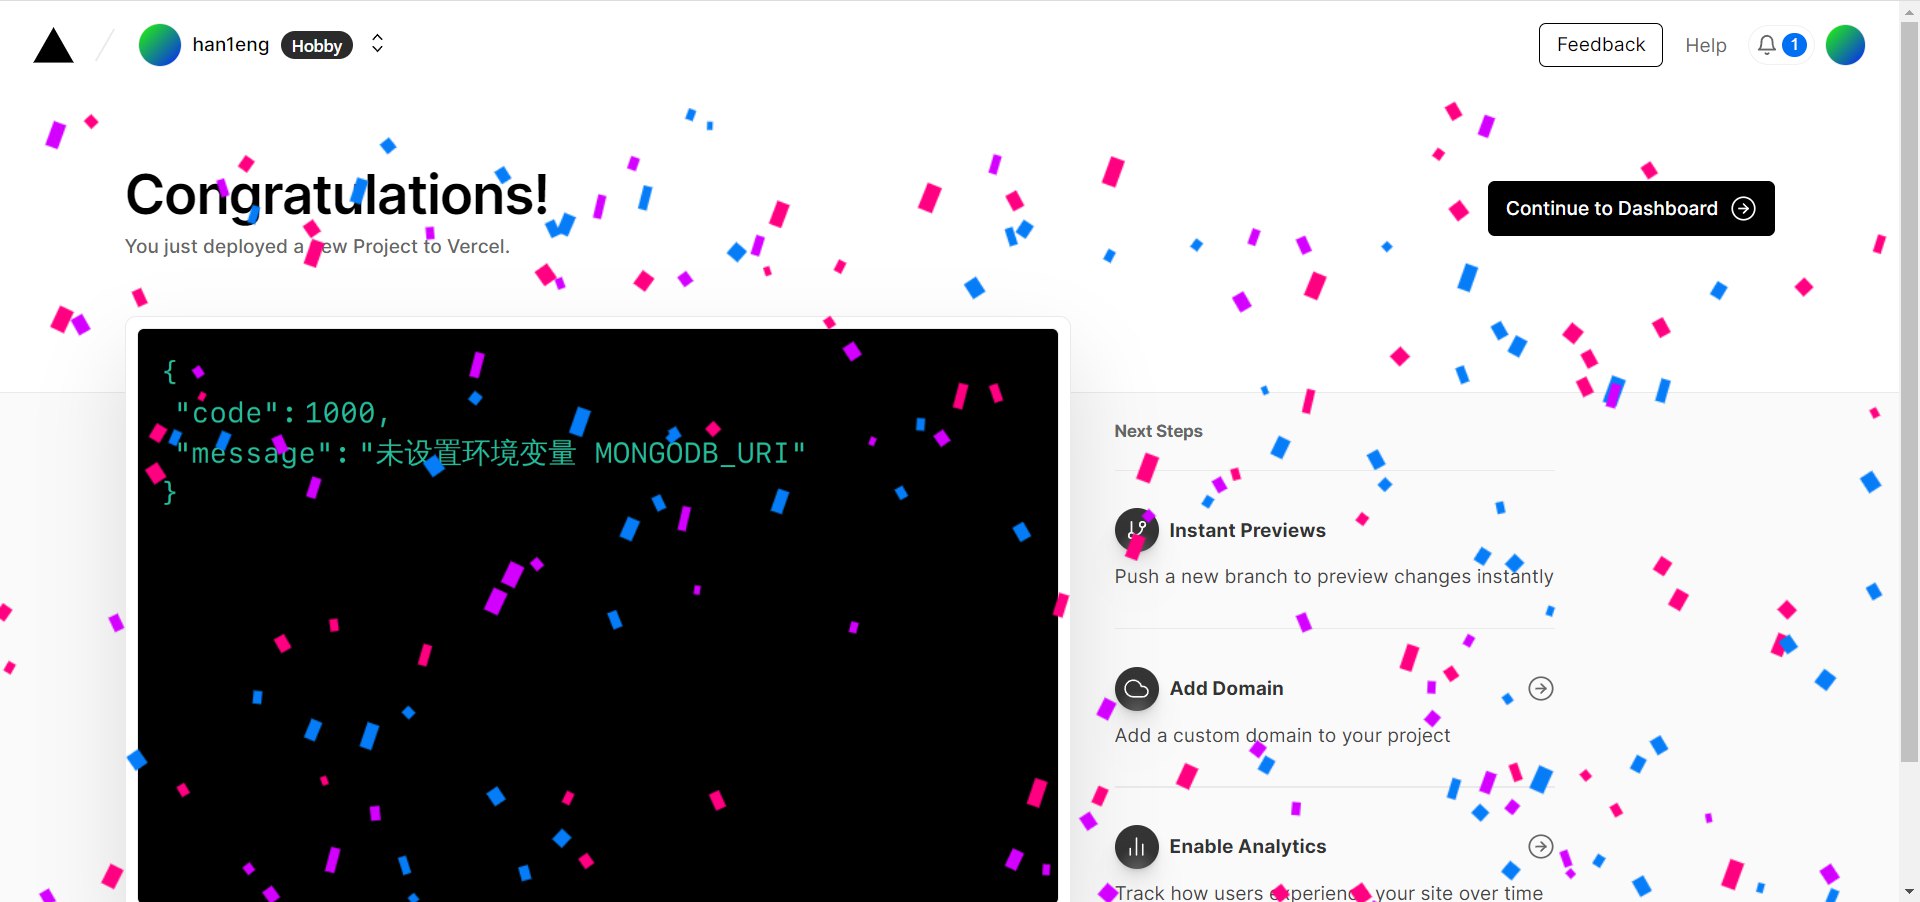
Go to
Settings - Environment Variables, add the environment variableMONGODB_URI, and set its value to the database connection string from the previous step. Make sure to replace<password>with the user password you set.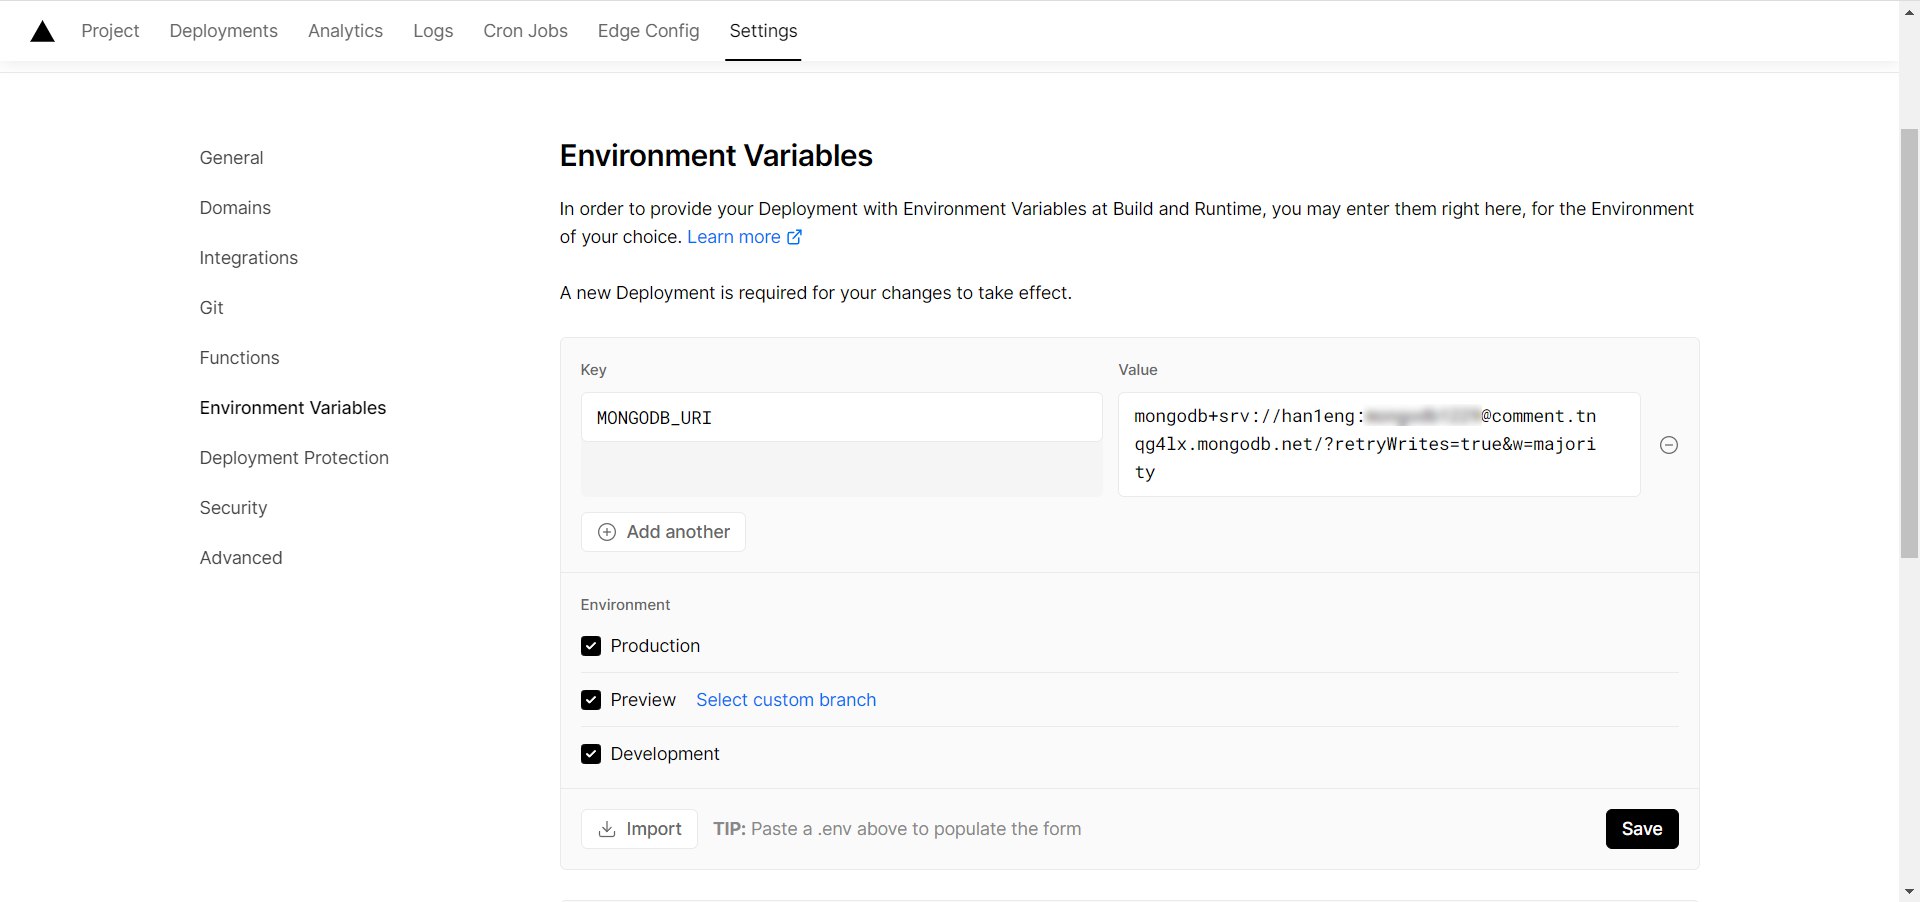
Go to
Deployments, then click the more options (three dots) next to any item, then clickRedeploy, and finally click theRedeploybutton below.Go to
Overview, click the link underDomains. If the environment is configured correctly, you will see the message “Twikoo cloud function is running normally”.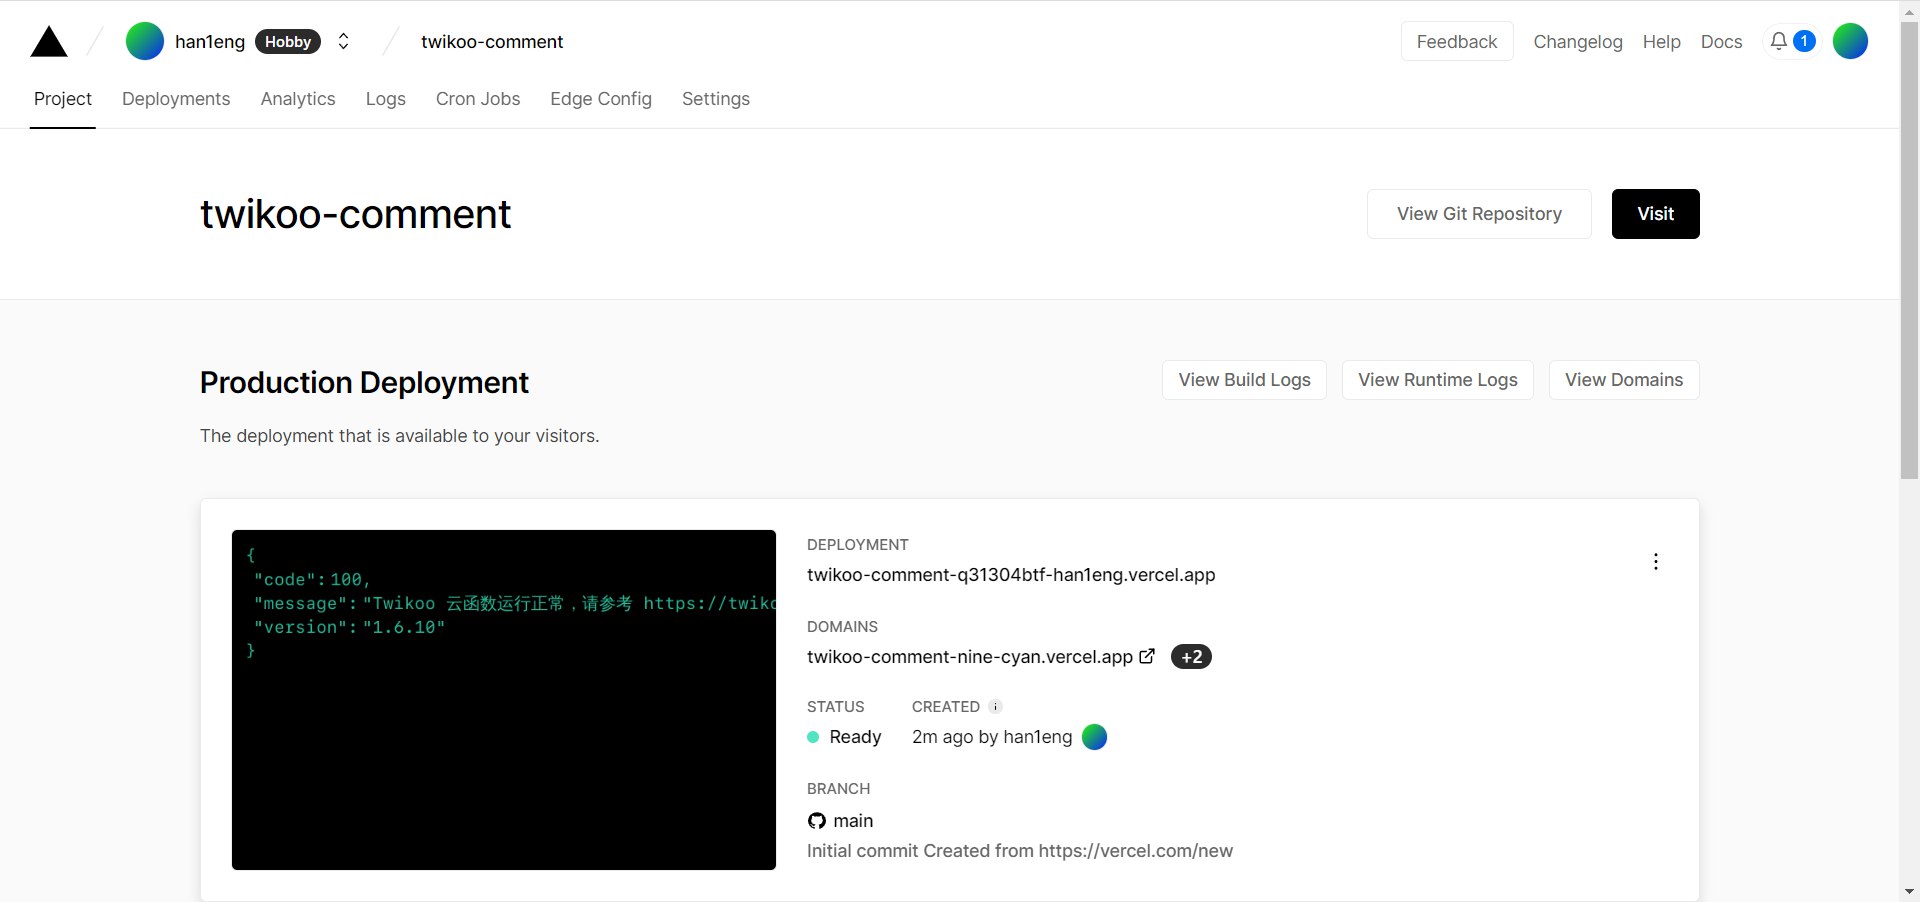
Click
Settings-Domainsat the top to enter the domain configuration page, enter the domain you want to bind, and clickAdd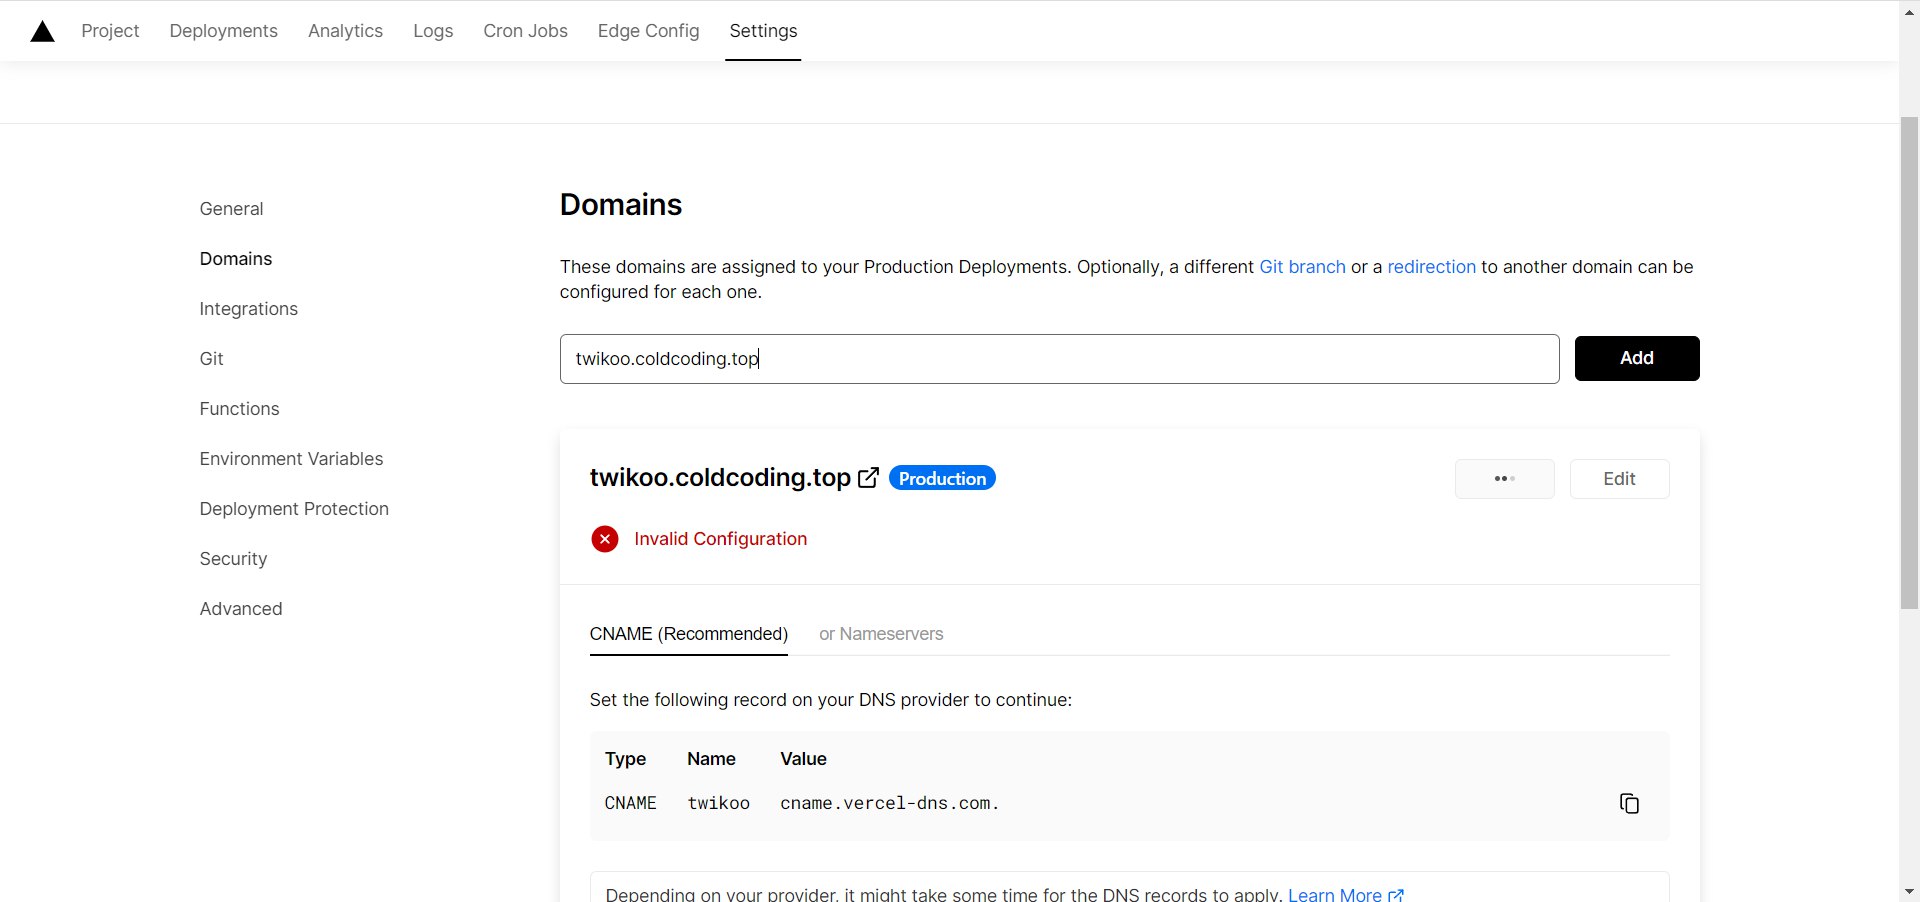
The above information indicates that you need to configure the corresponding
CNAMEresolution in your domain registrar’s management backend before it can take effect. Here, Tencent Cloud is used as an example, configured according tovercel’s recommendations. You can also refer to this tutorial.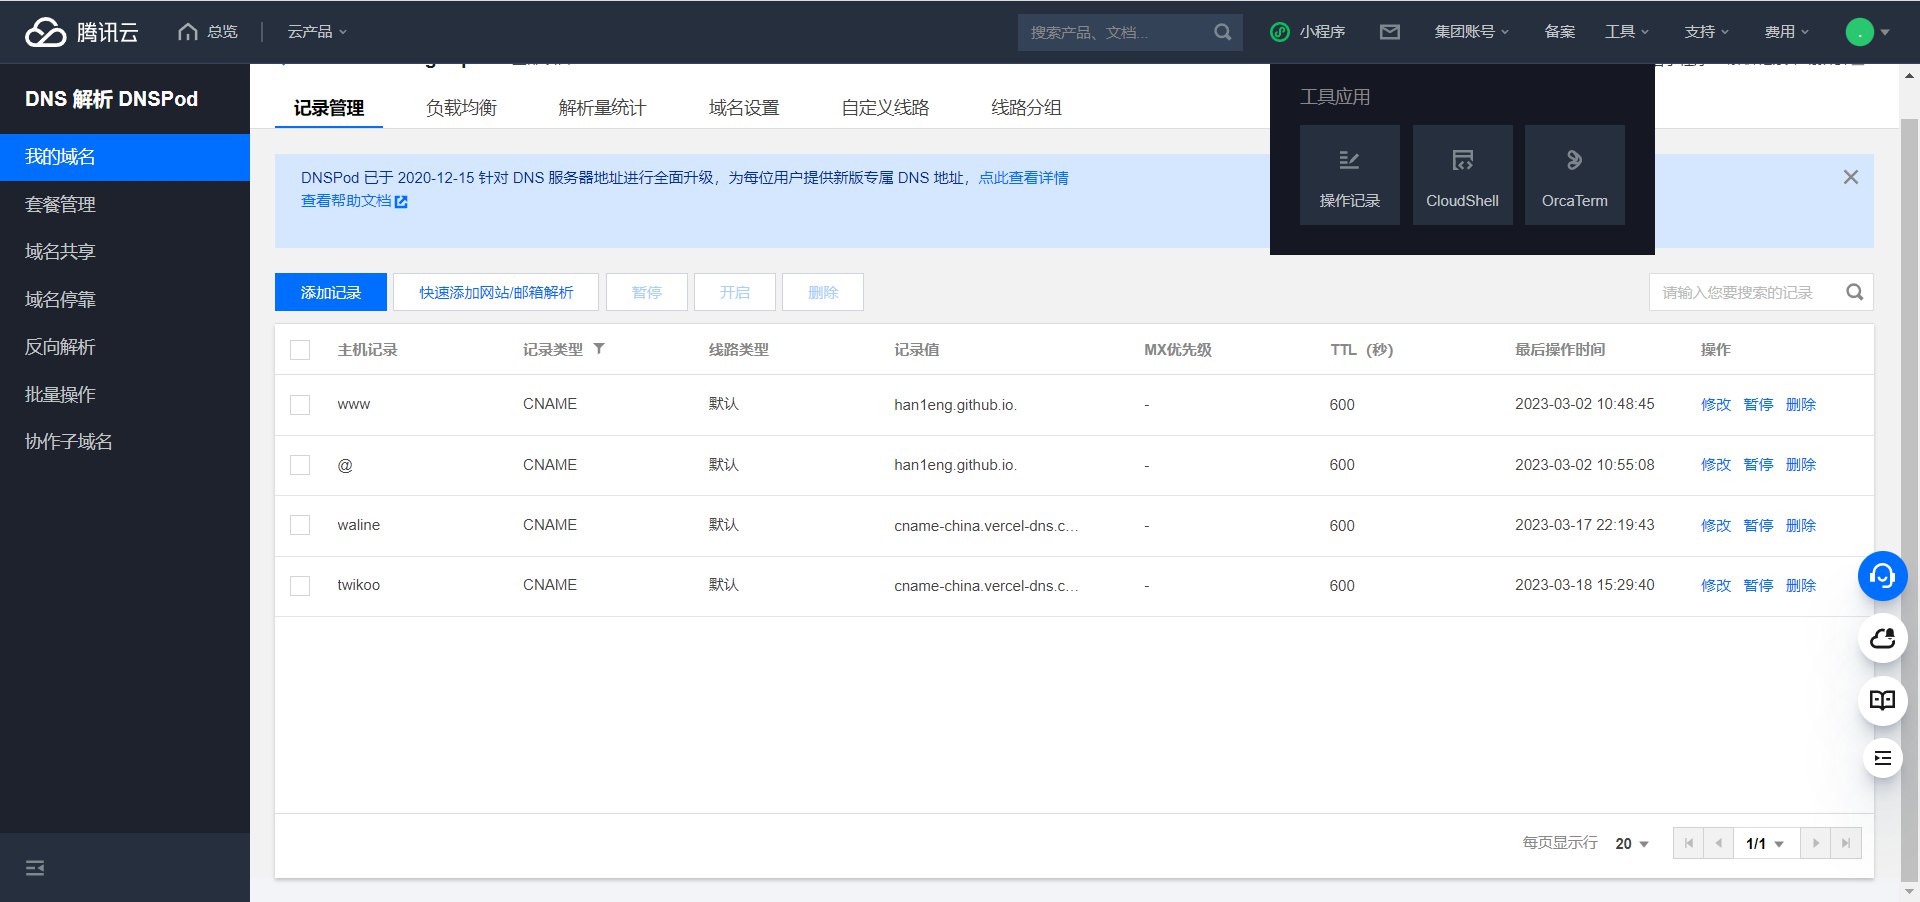
Enable Admin Panel
Click the “gear” icon in the comment window to set the admin password
Updating Vercel Deployment
- Go to Vercel Dashboard - twikoo - Settings - Git
- Click the repository address under
Connected Git Repository - Open
package.json, click edit - Change the version number in
"twikoo-vercel": "x.x.x"to the latest version number. ClickCommit changes - Deployment will trigger automatically. You can go back to the Vercel Dashboard to check the deployment status