Register with QWeather
Generate the Code
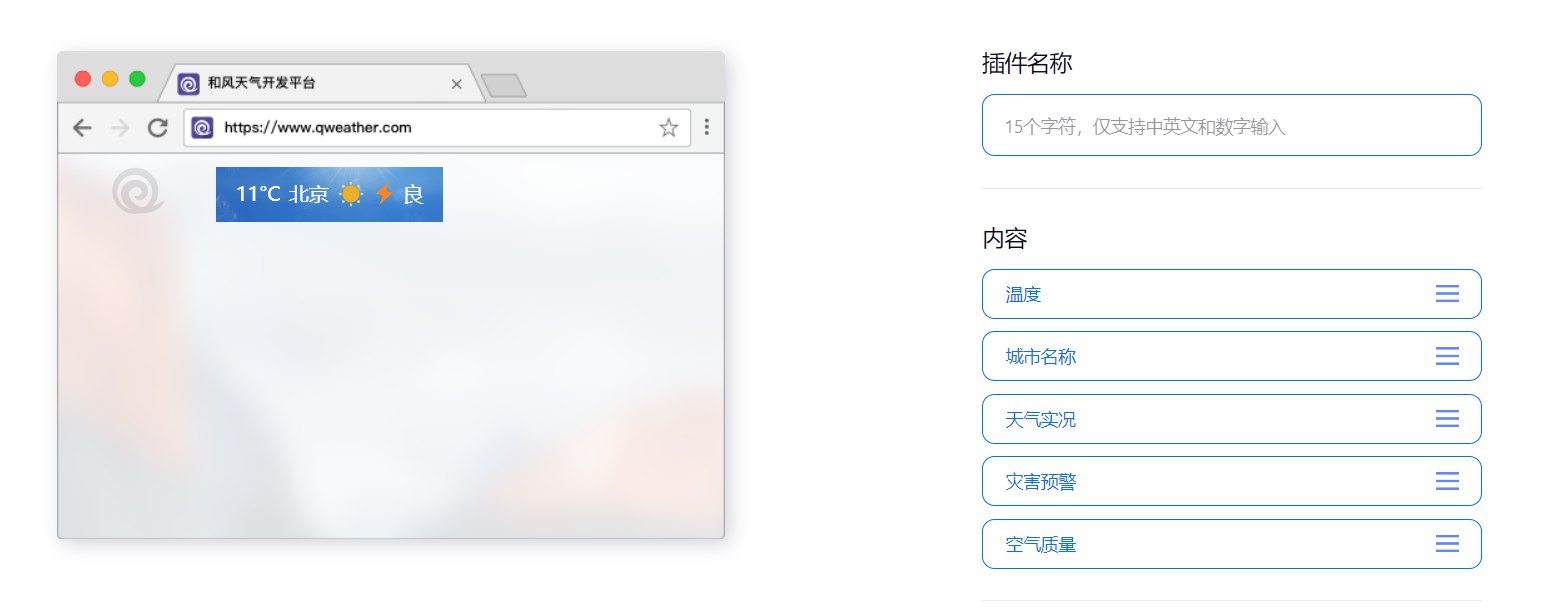
Customize the weather widget according to your needs and then click on “Generate Code”.
 1<div id="he-plugin-simple"></div>
 2<script>
 3WIDGET = {
 4  "CONFIG": {
 5    "modules": "01234",
 6    "background": "5",
 7    "tmpColor": "FF9900",
 8    "tmpSize": "16",
 9    "cityColor": "CCCCCC",
10    "citySize": "16",
11    "aqiColor": "D9D9D9",
12    "aqiSize": "16",
13    "weatherIconSize": "24",
14    "alertIconSize": "18",
15    "padding": "15px 10px 10px 20px",
16    "shadow": "0",
17    "language": "auto",
18    "borderRadius": "5",
19    "fixed": "true",
20    "vertical": "top",
21    "horizontal": "left",
22    "left": "170",
23    "top": "5",
24    "key": "4b948664cade49598ad"
25  }
26}
27</script>
28<script src="https://widget.qweather.net/simple/static/js/he-simple-common.js?v=2.0"></script>
File Configuration
Create a
weather.jsfile in the\themes\butterfly\source\jsdirectory and fill it with the code from thescriptsection generated above.1WIDGET = { 2 "CONFIG": { 3 "modules": "01234", 4 "background": "5", 5 "tmpColor": "FF9900", 6 "tmpSize": "16", 7 "cityColor": "CCCCCC", 8 "citySize": "16", 9 "aqiColor": "D9D9D9", 10 "aqiSize": "16", 11 "weatherIconSize": "24", 12 "alertIconSize": "18", 13 "padding": "15px 10px 10px 20px", 14 "shadow": "0", 15 "language": "auto", 16 "borderRadius": "5", 17 "fixed": "true", 18 "vertical": "top", 19 "horizontal": "left", 20 "left": "150", 21 "top": "5", 22 "key": "4b948664cade49598ad" 23 } 24}Open the theme configuration file
_config.butterfly.ymland include thejsfile in theinjectsection underbottom.1inject: 2 bottom: 3 - <script src="https://widget.qweather.net/simple/static/js/he-simple-common.js?v=2.0"></script> 4 - <script src="/js/weather.js"></script>Configure the loading component in the
nav.pugfile located at\themes\butterfly\layout\includes\header.1<div id="he-plugin-simple"></div> # HTML syntax 2#he-plugin-simple # or Pug syntax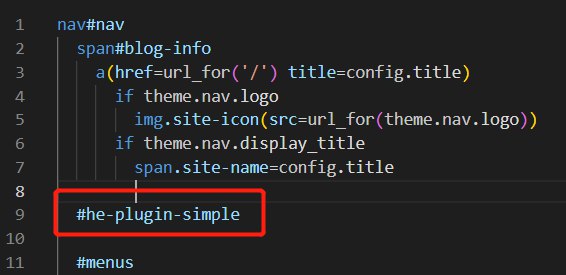
Redeploy
1$ hexo cl
2$ hexo g -d
